zabbix自定义监控
需要先配置mysql主从,从库上需要安装zabbix_agentd
zabbix_server配置
zabbix_agentd配置
mysql主从配置
监控mysql主从状态
主从同步完成
[root@localhost ~]# mysql -uroot -p123456 -e "show slave status\G"
*************************** 1. row ***************************
                Slave_IO_State: Waiting for master to send event
                   Master_Host: 192.168.111.139
                   Master_User: repl
                   Master_Port: 3306
                 Connect_Retry: 60
               Master_Log_File: mysql_bin.000001
           Read_Master_Log_Pos: 328
                Relay_Log_File: myrela.000002
                 Relay_Log_Pos: 555
         Relay_Master_Log_File: mysql_bin.000001
              Slave_IO_Running: Yes
             Slave_SQL_Running: Yes
需要监控的是IO和SQL
配置监控脚本
#在被监控端,也是从库端,编写一个脚本测试
[root@localhost ~]# mysql -uroot -p123456 -e "show slave status\G"|egrep -w "Running|Yes"|awk '{print $2}'|wc -l
2
[root@localhost ~]# cd /scripts/
[root@localhost ~]# vim mysql_status.sh
[root@localhost scripts]# chmod +x mysql_status.sh
[root@localhost scripts]# ./mysql_status.sh
0
#在被监控端,也是从库端,修改配置文件
[root@localhost ~]# vim /usr/local/etc/zabbix_agentd.conf
UserParameter=check_mysql_status,/bin/bash /scripts/mysql_status.sh
#!/bin/bash
count=$(mysql -uroot -p123456 -e "show slave status\G"|egrep -w "Running|Yes"|awk '{print $2}'|wc -l)
if [ $count == 2 ];then
echo '0'
else
echo '1'
fi
#重启zabbix_agentd
[root@localhost ~]# pkill zabbix
[root@localhost ~]# zabbix_agentd
#服务端测试
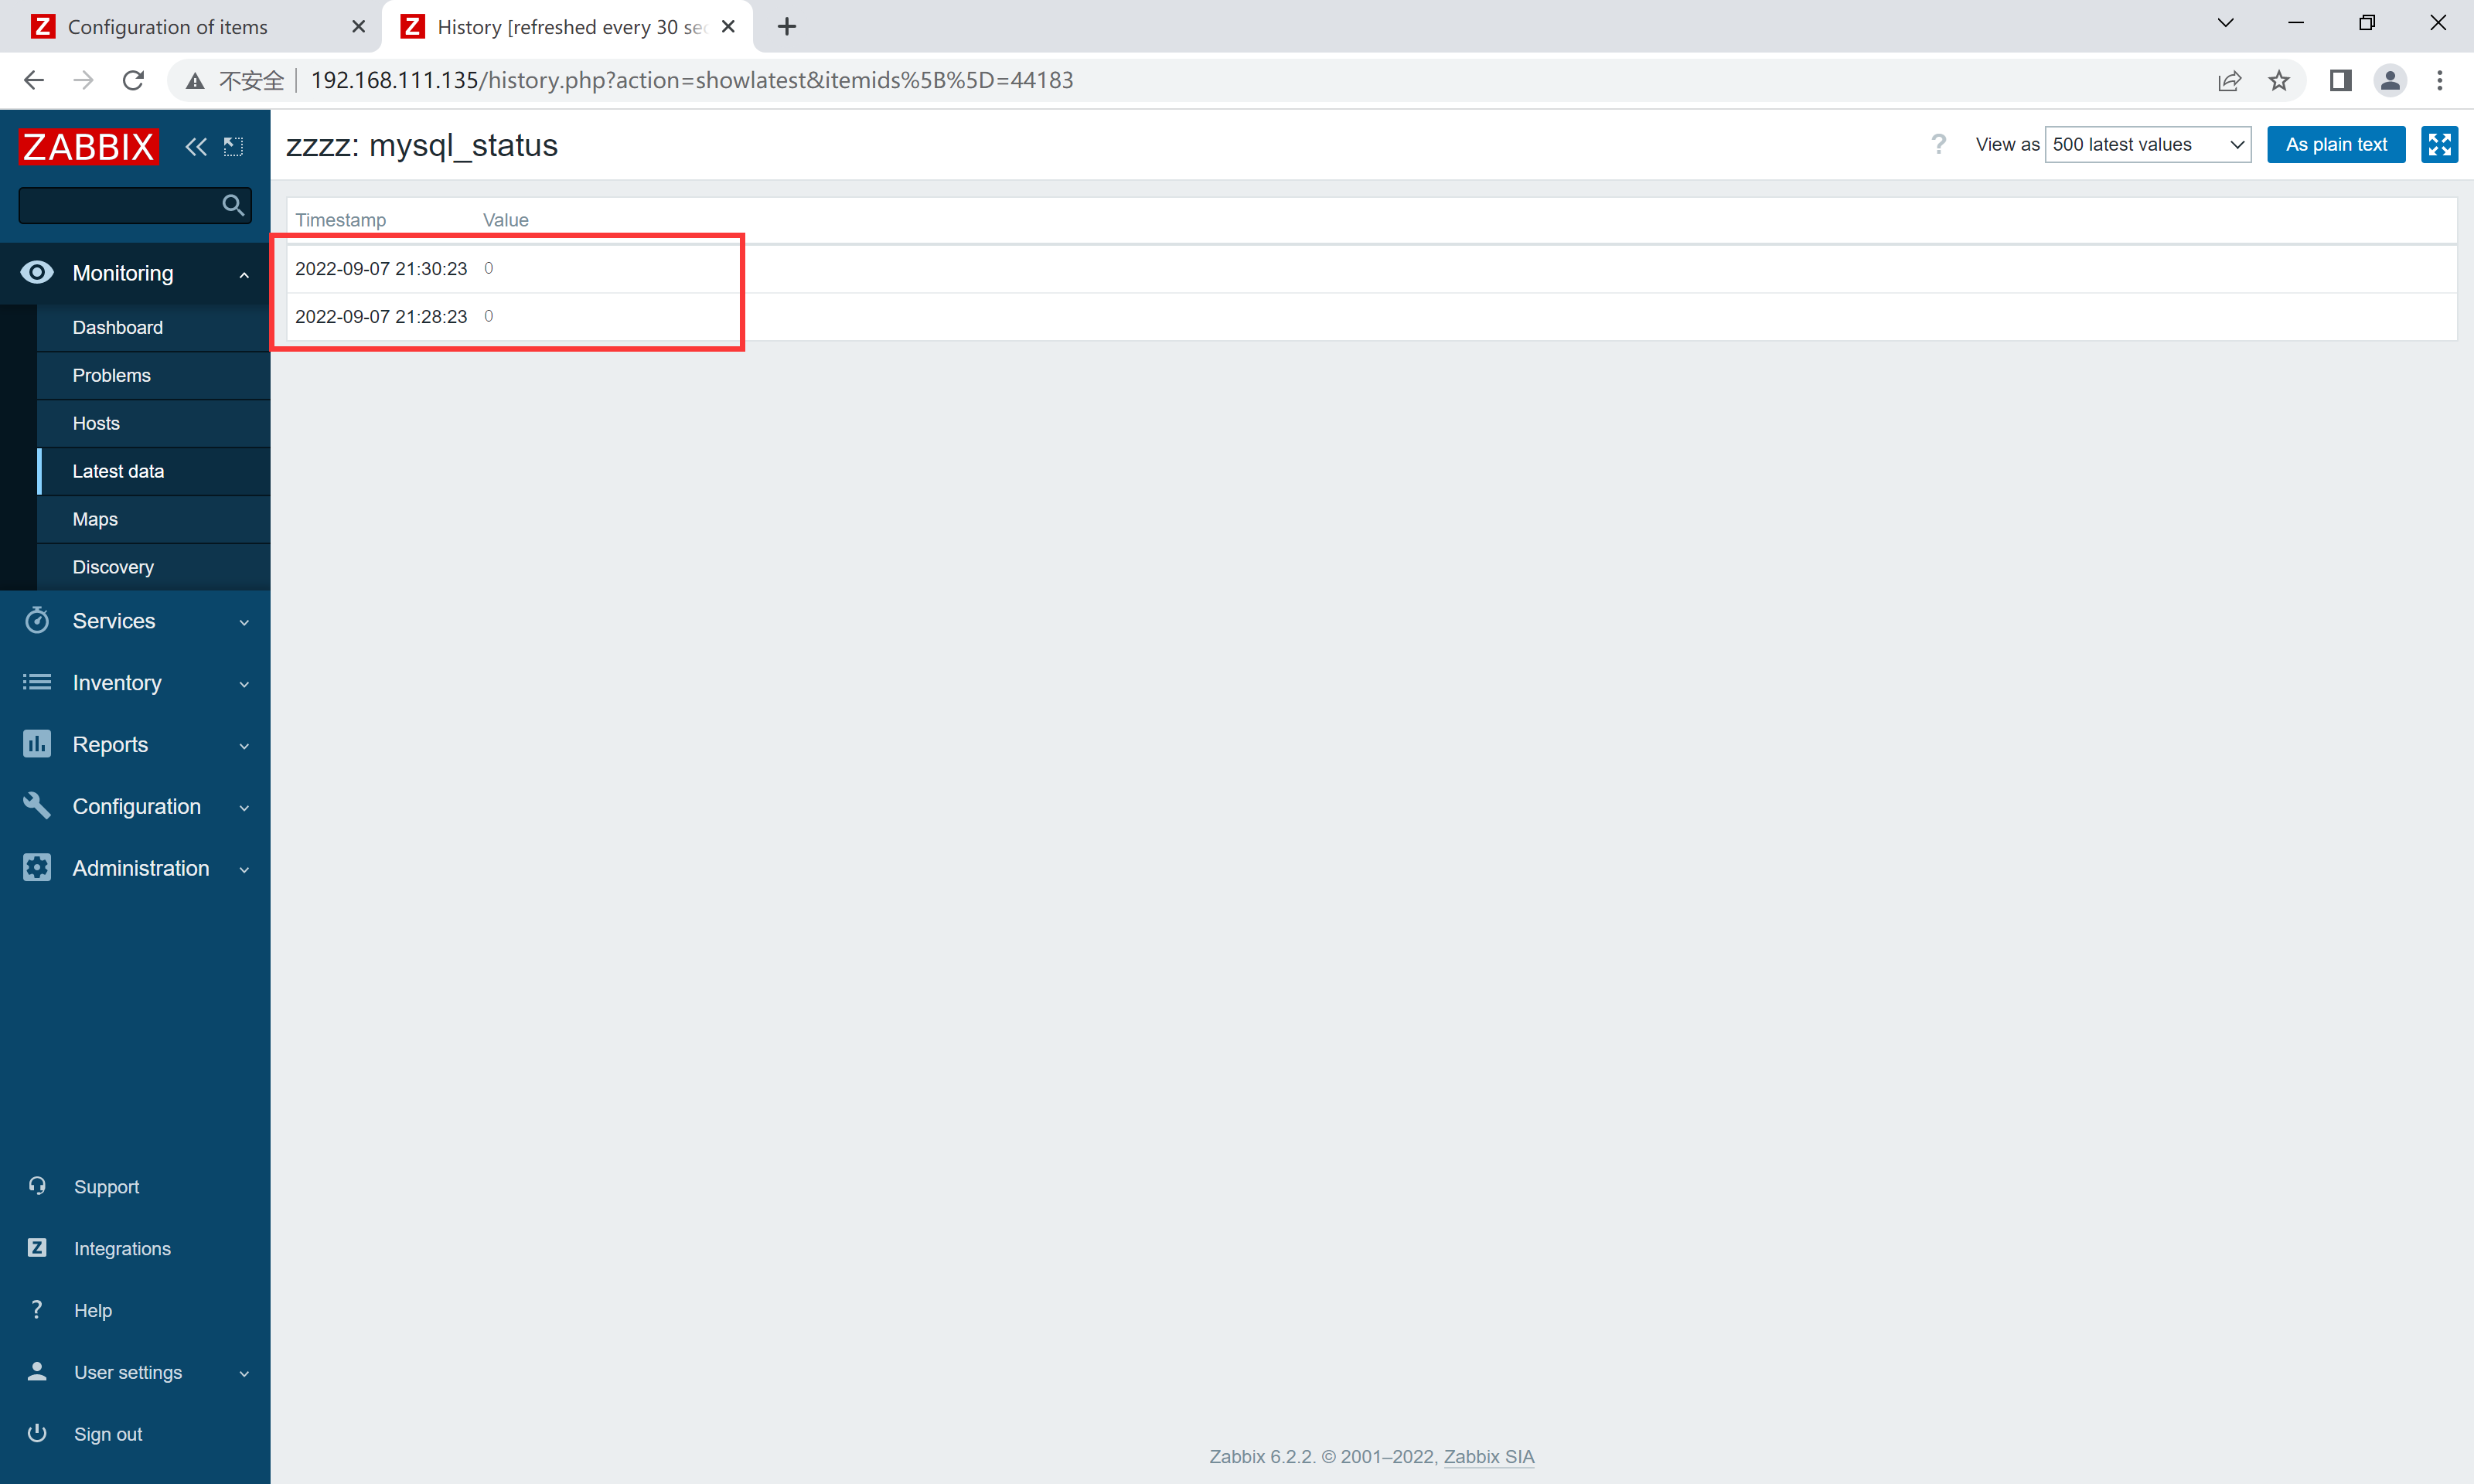
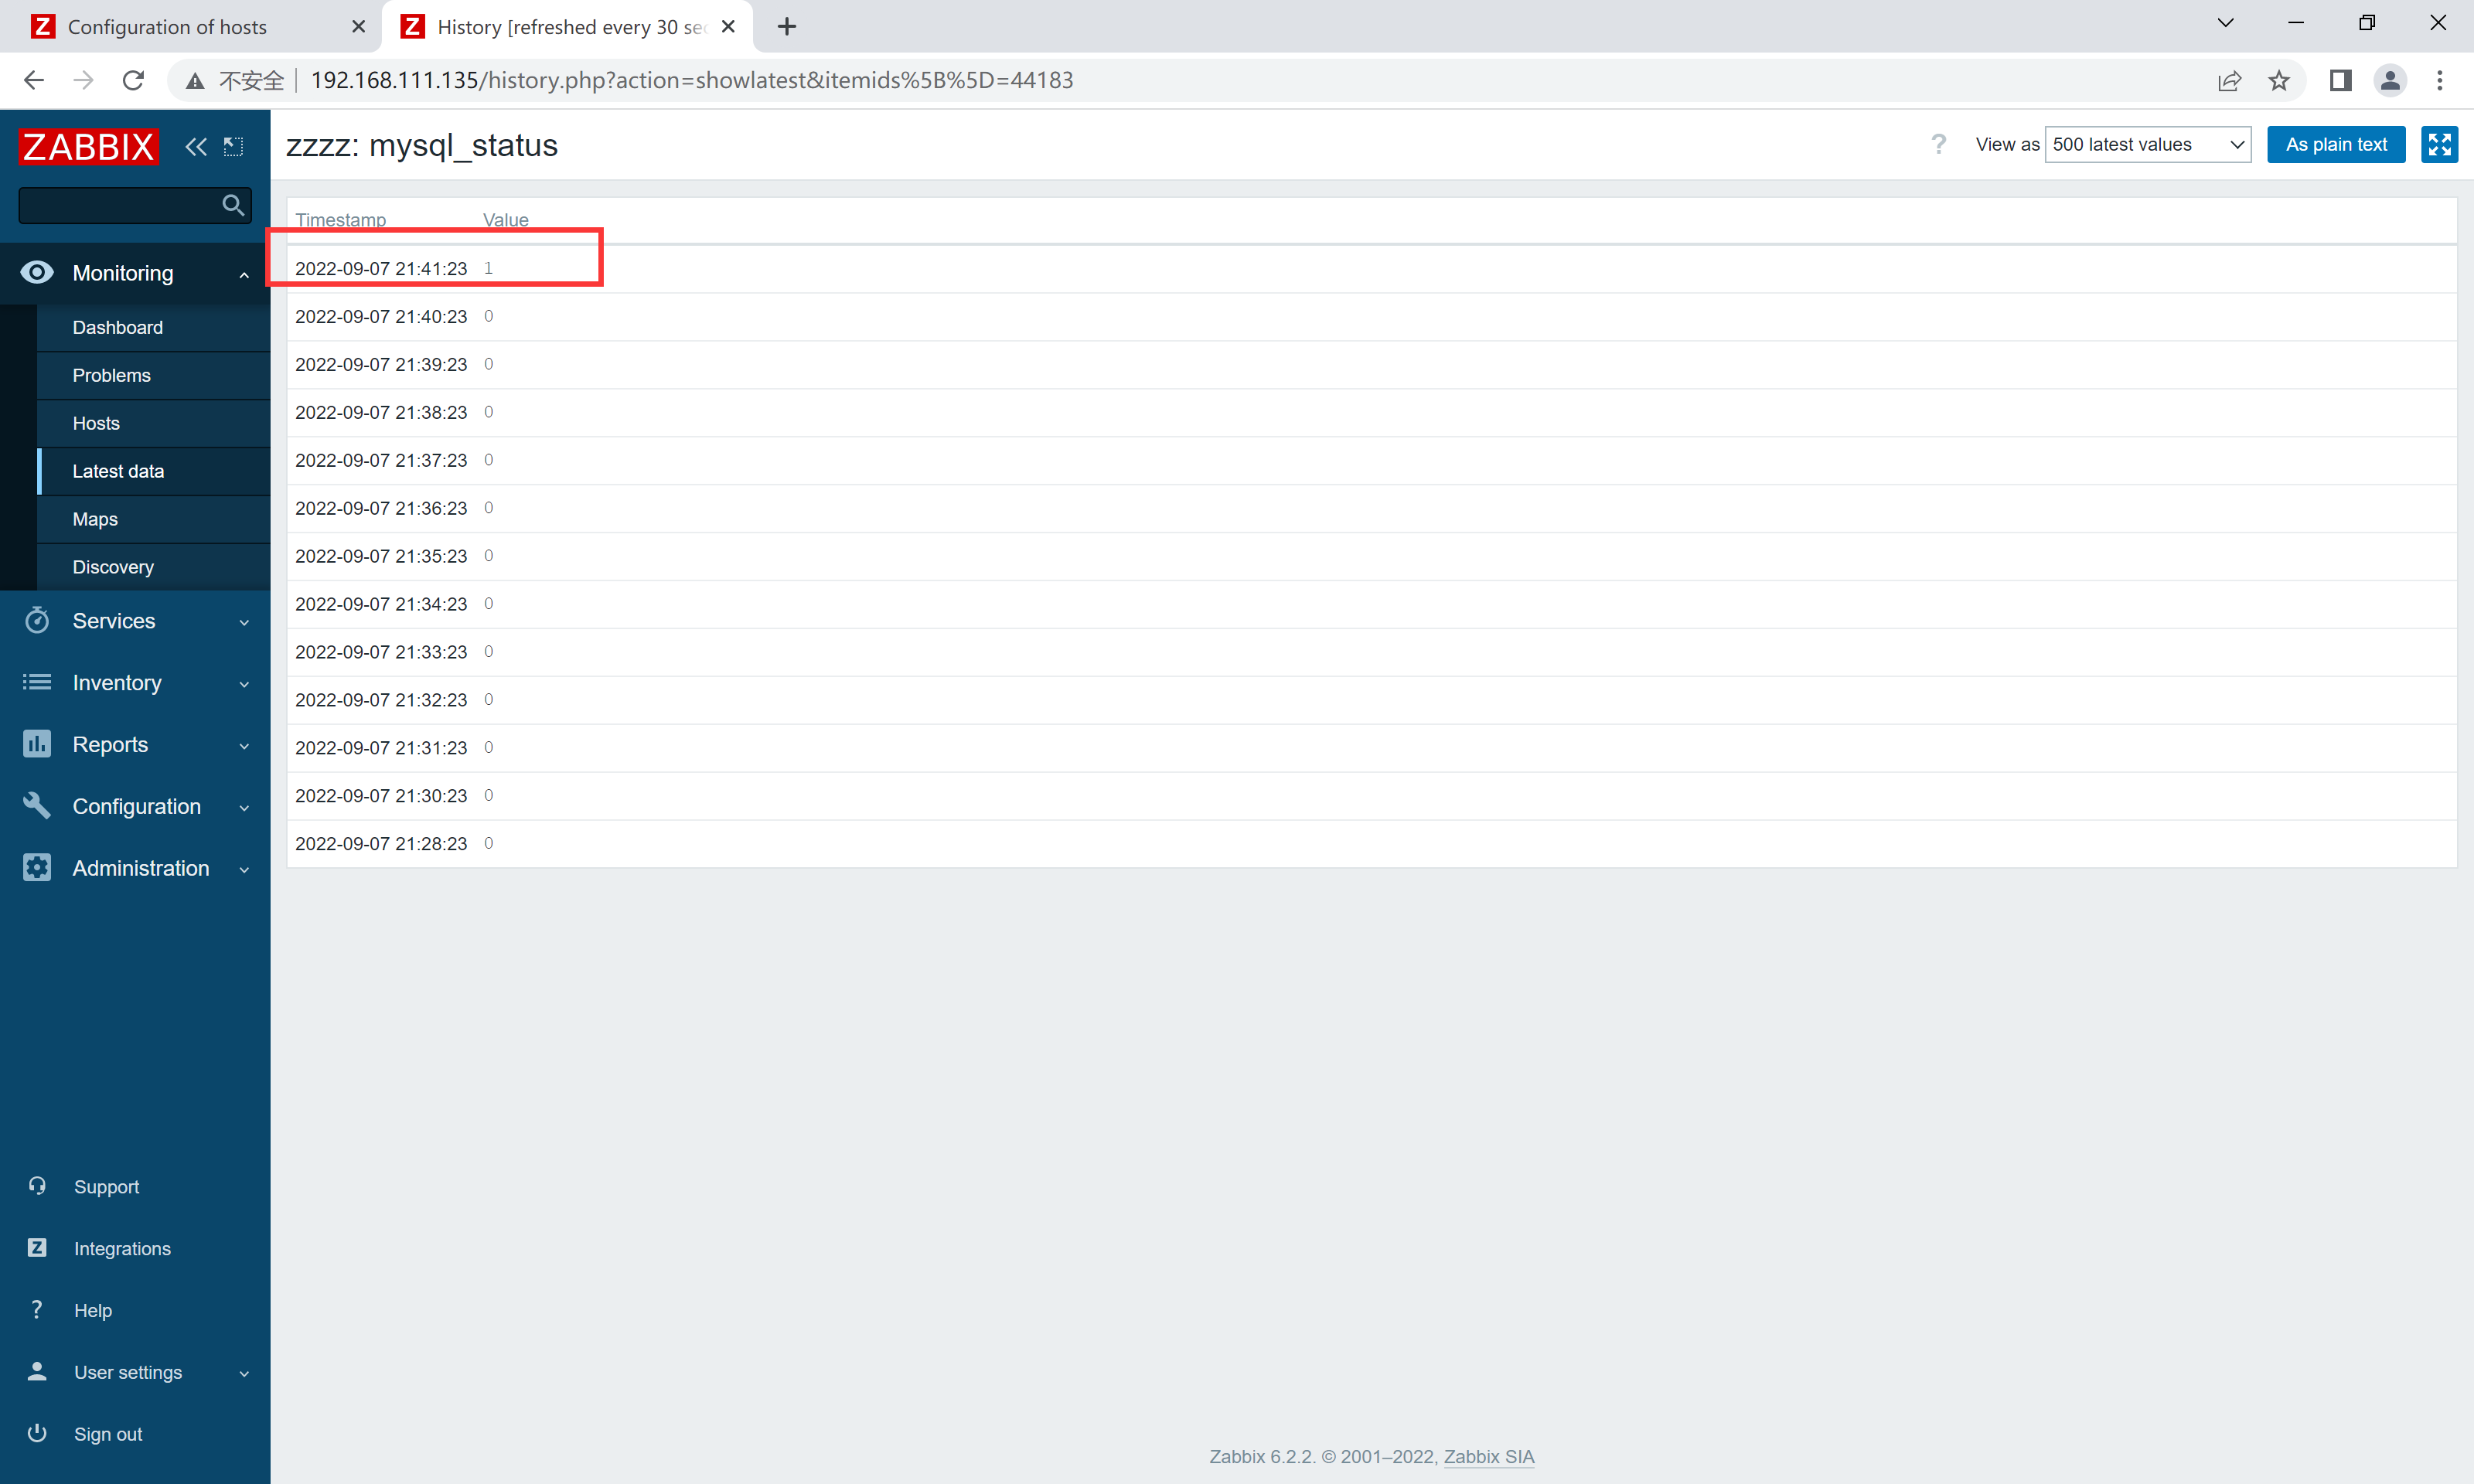
[root@zabbix ~]# zabbix_get -s 192.168.111.137 -k check_mysql_status
0
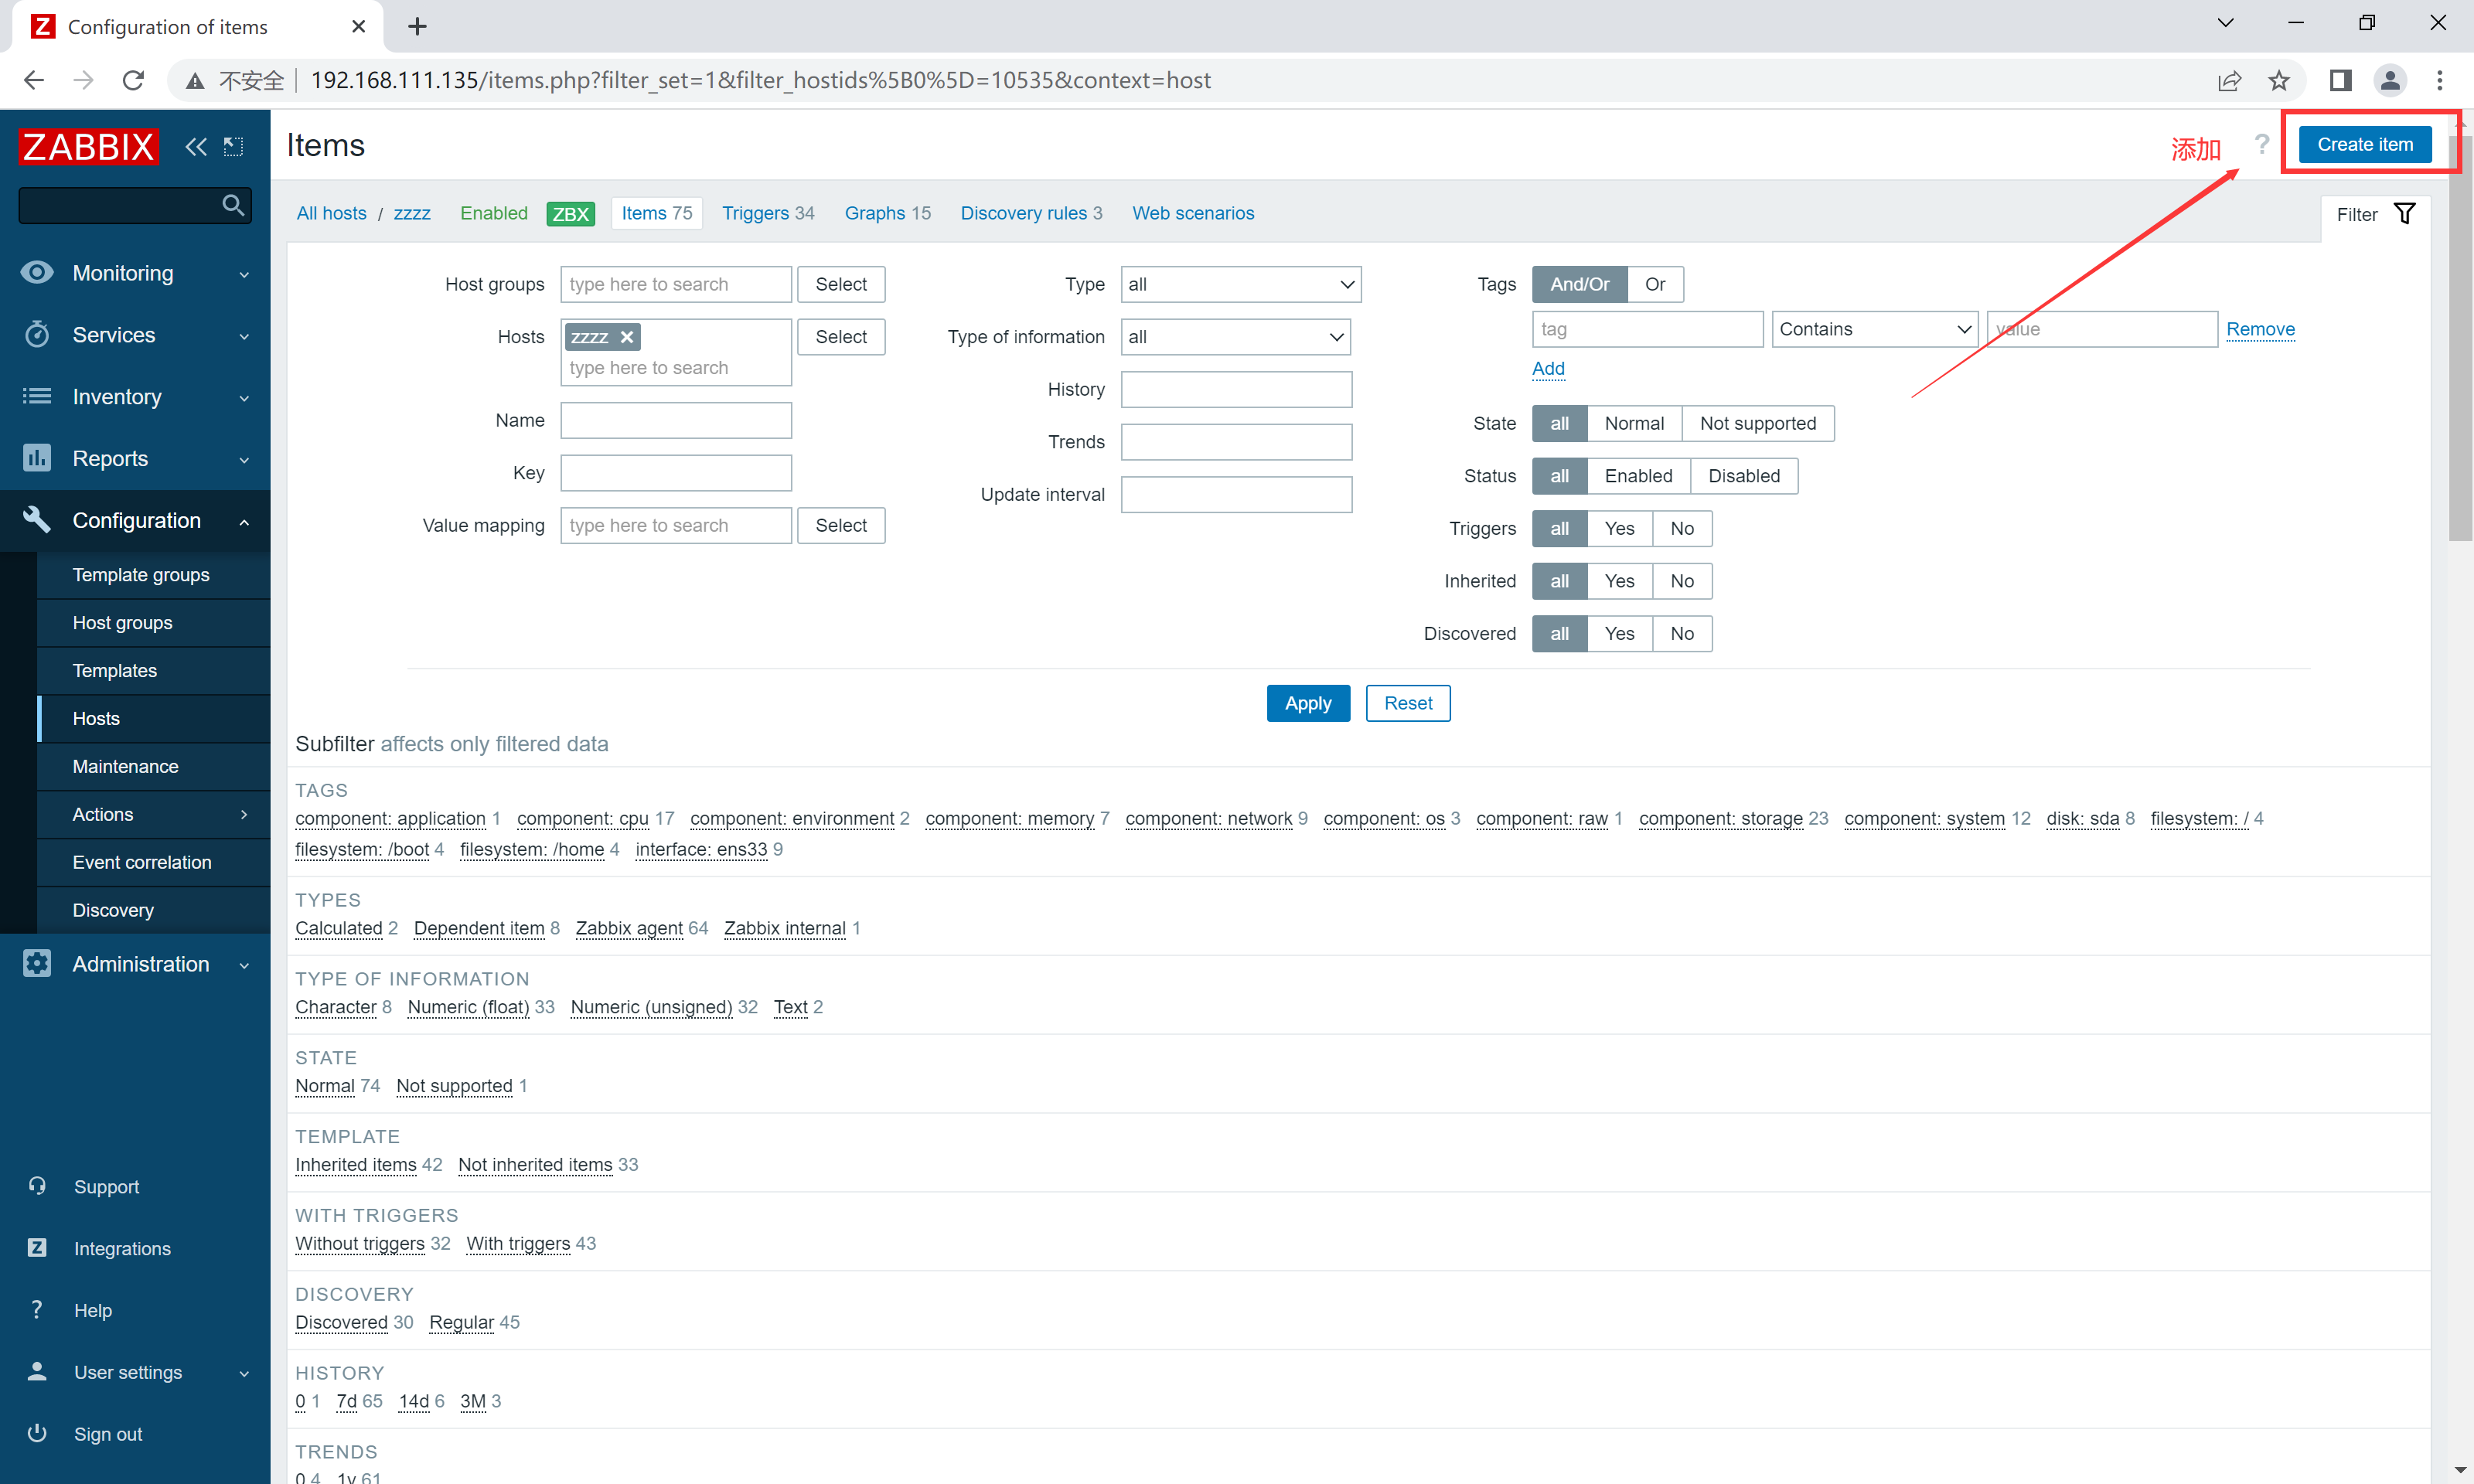
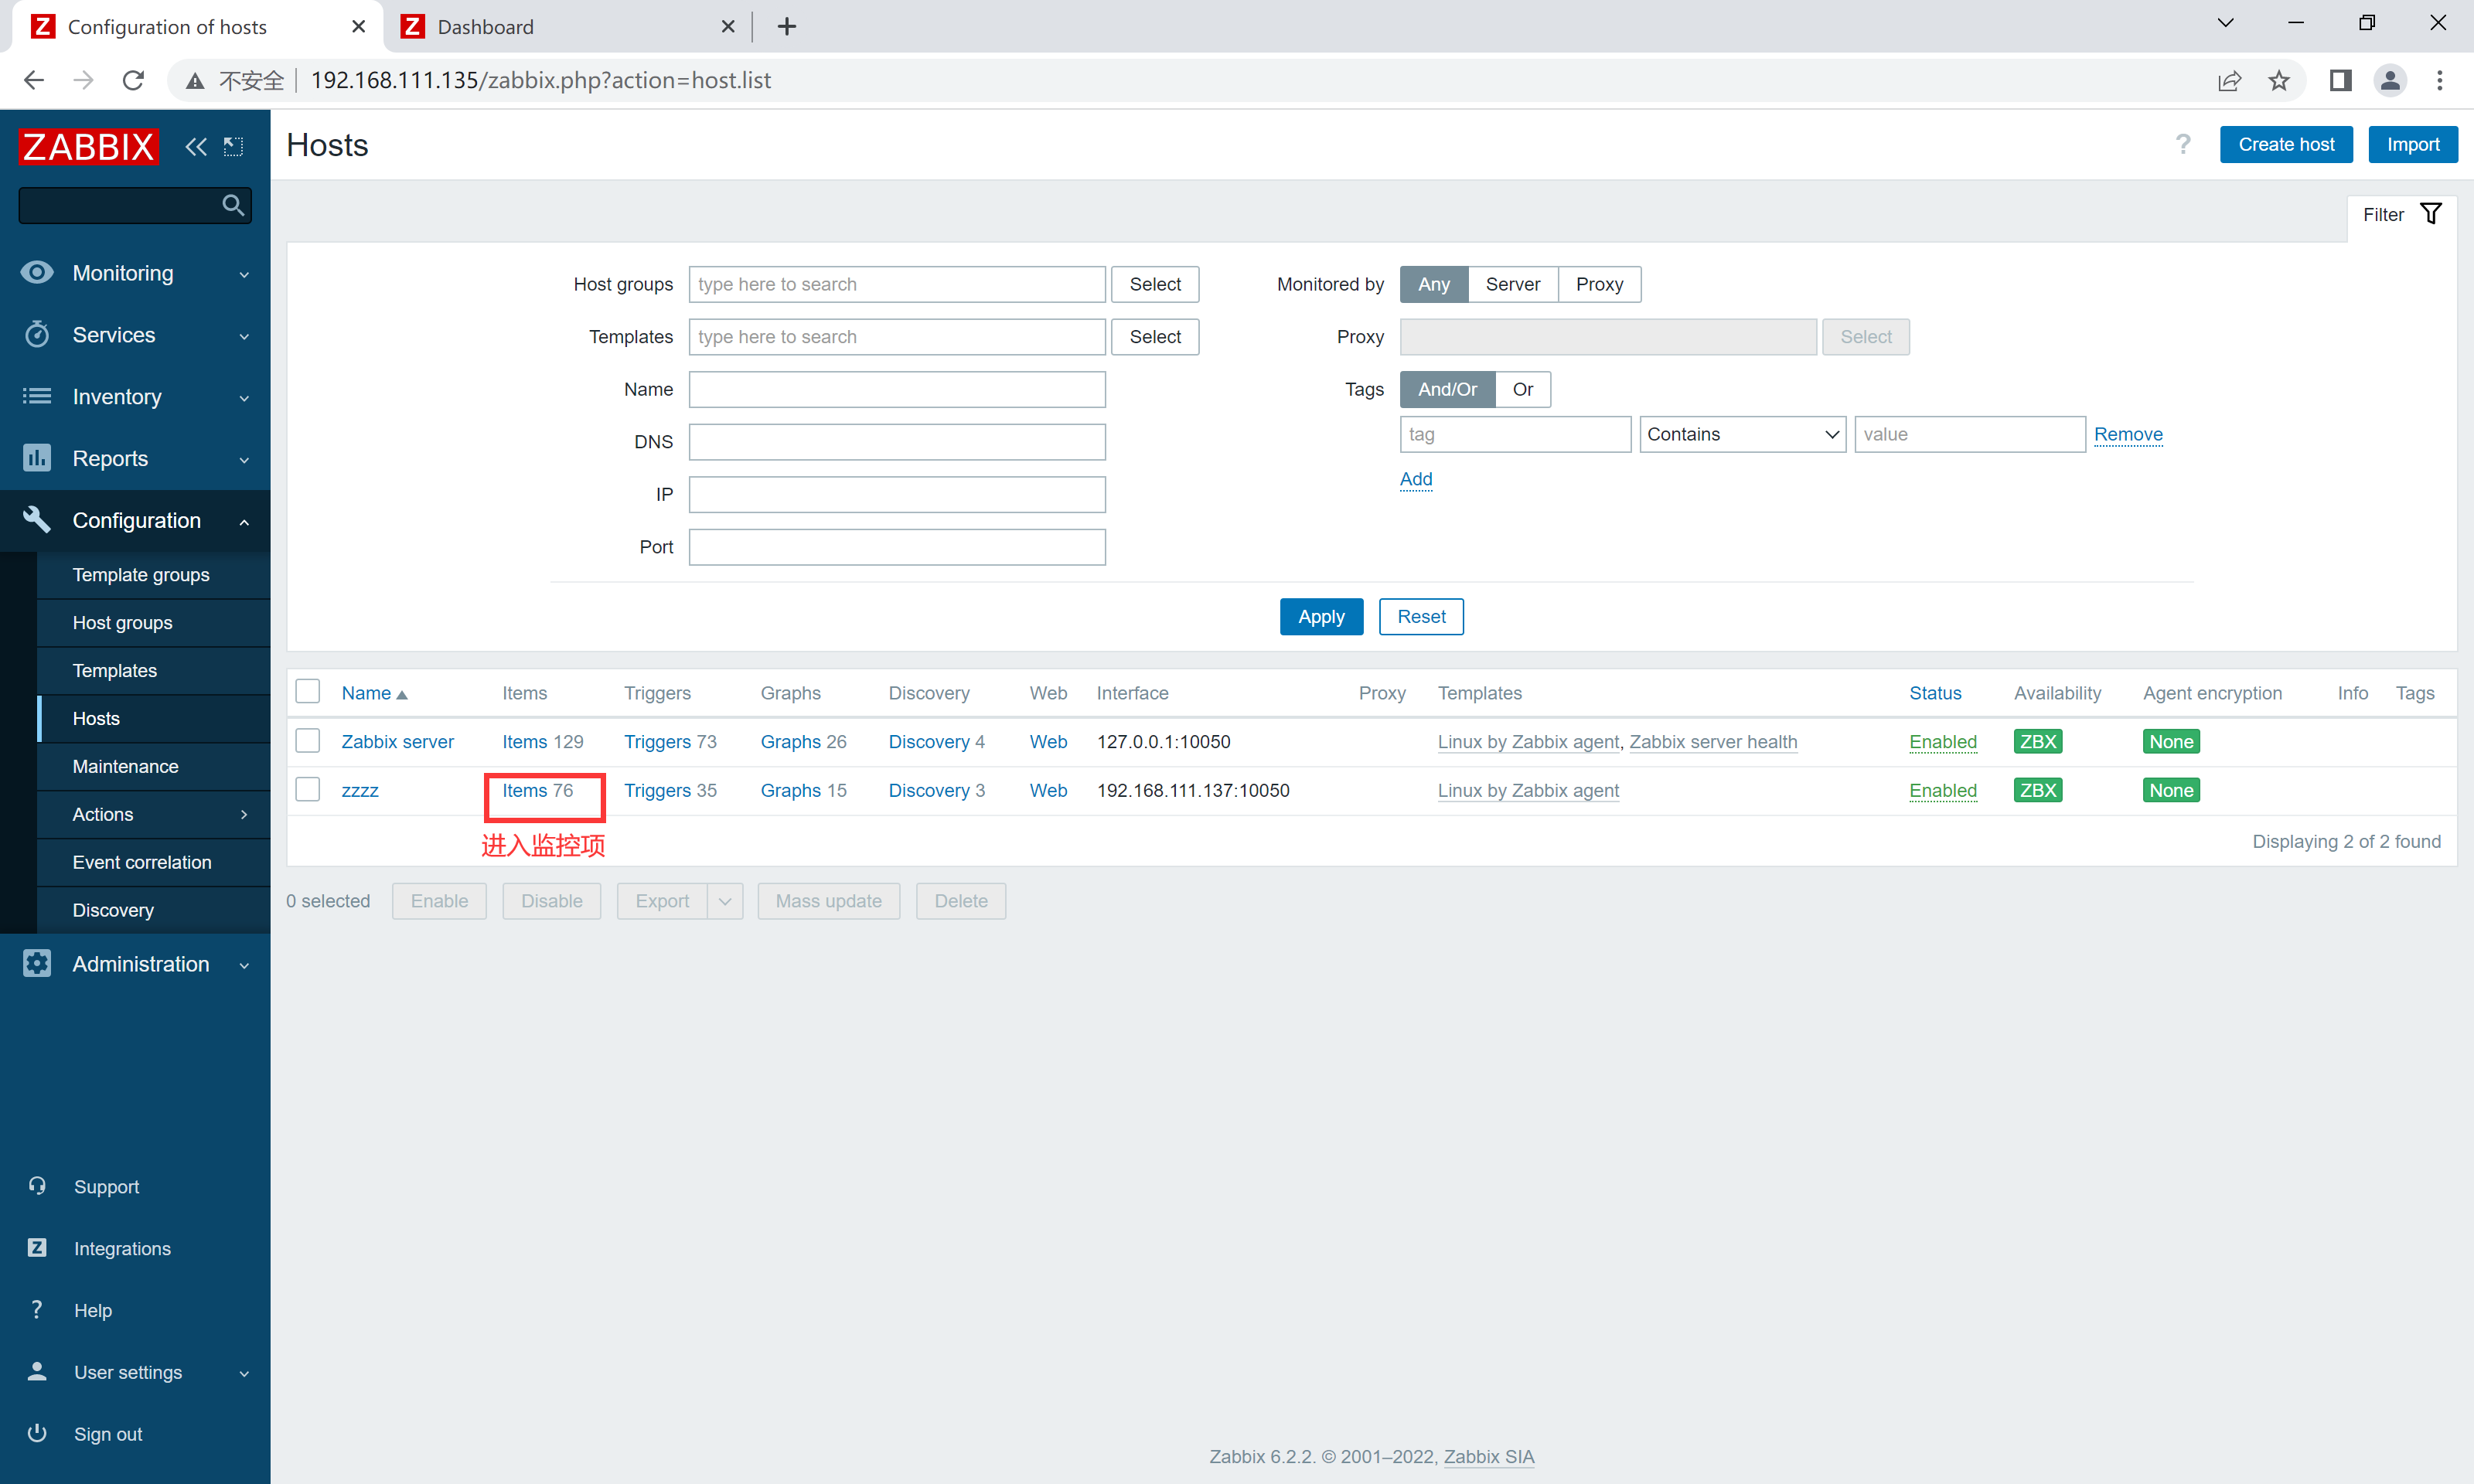
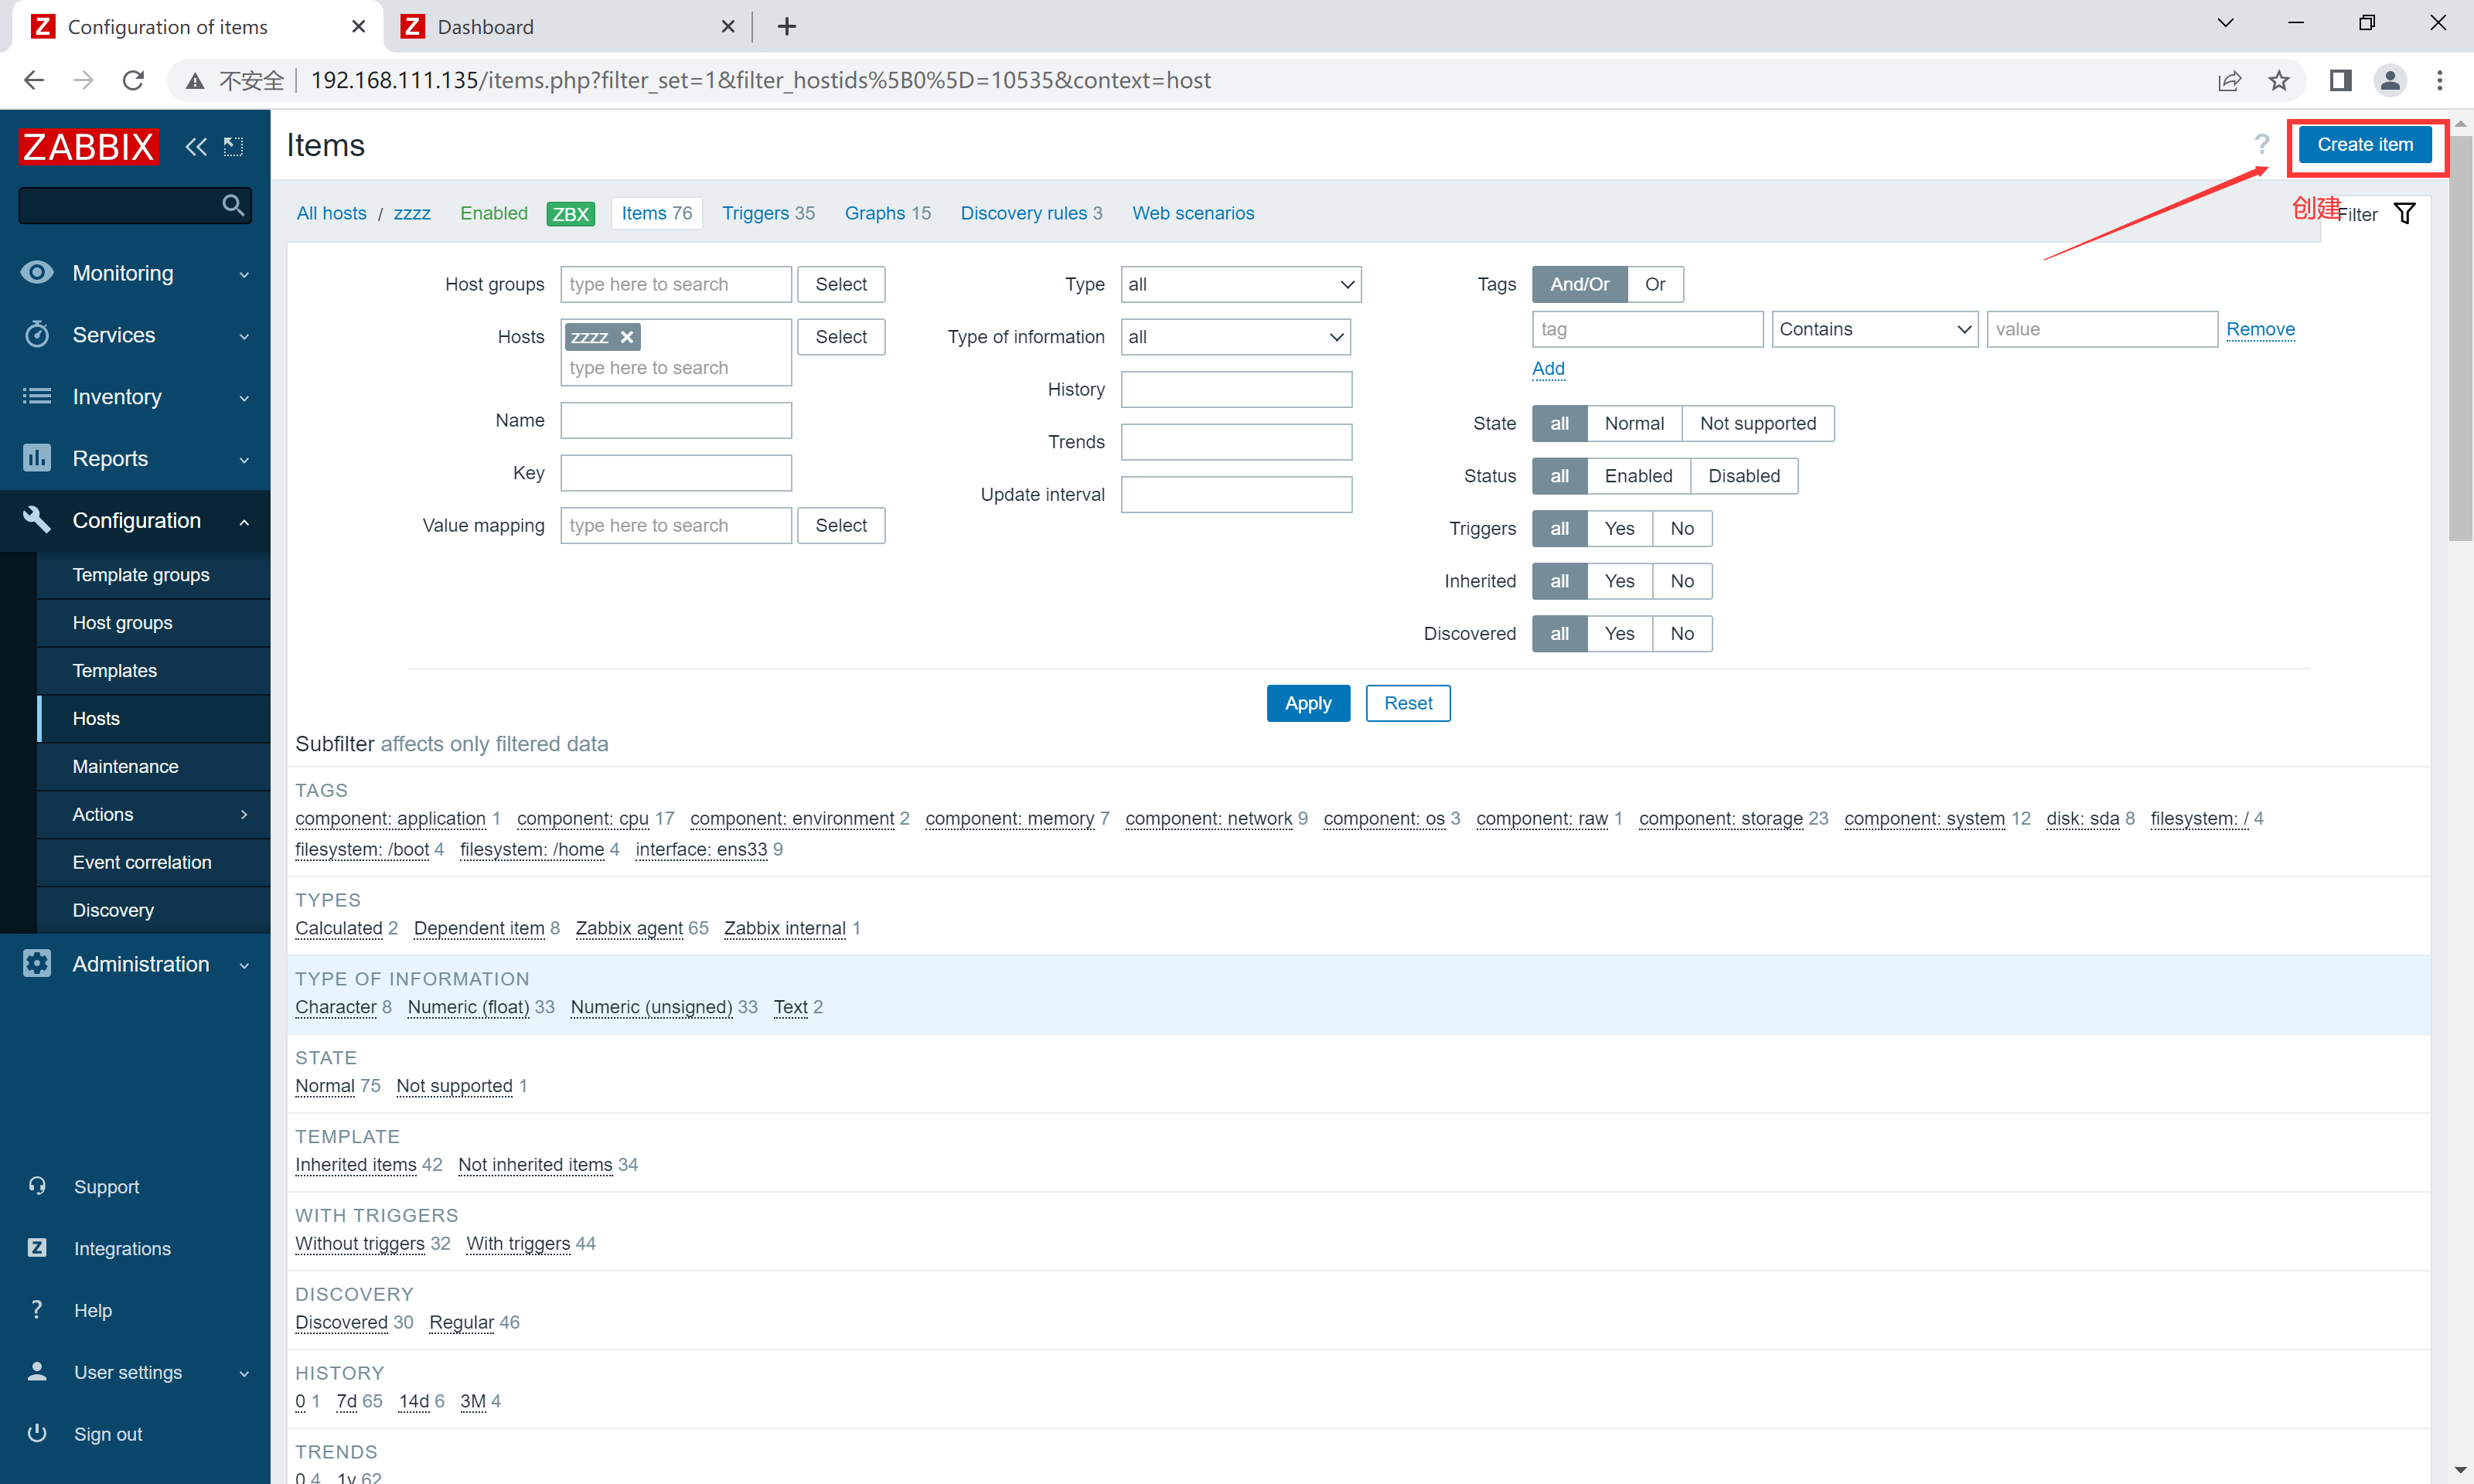
添加监控项


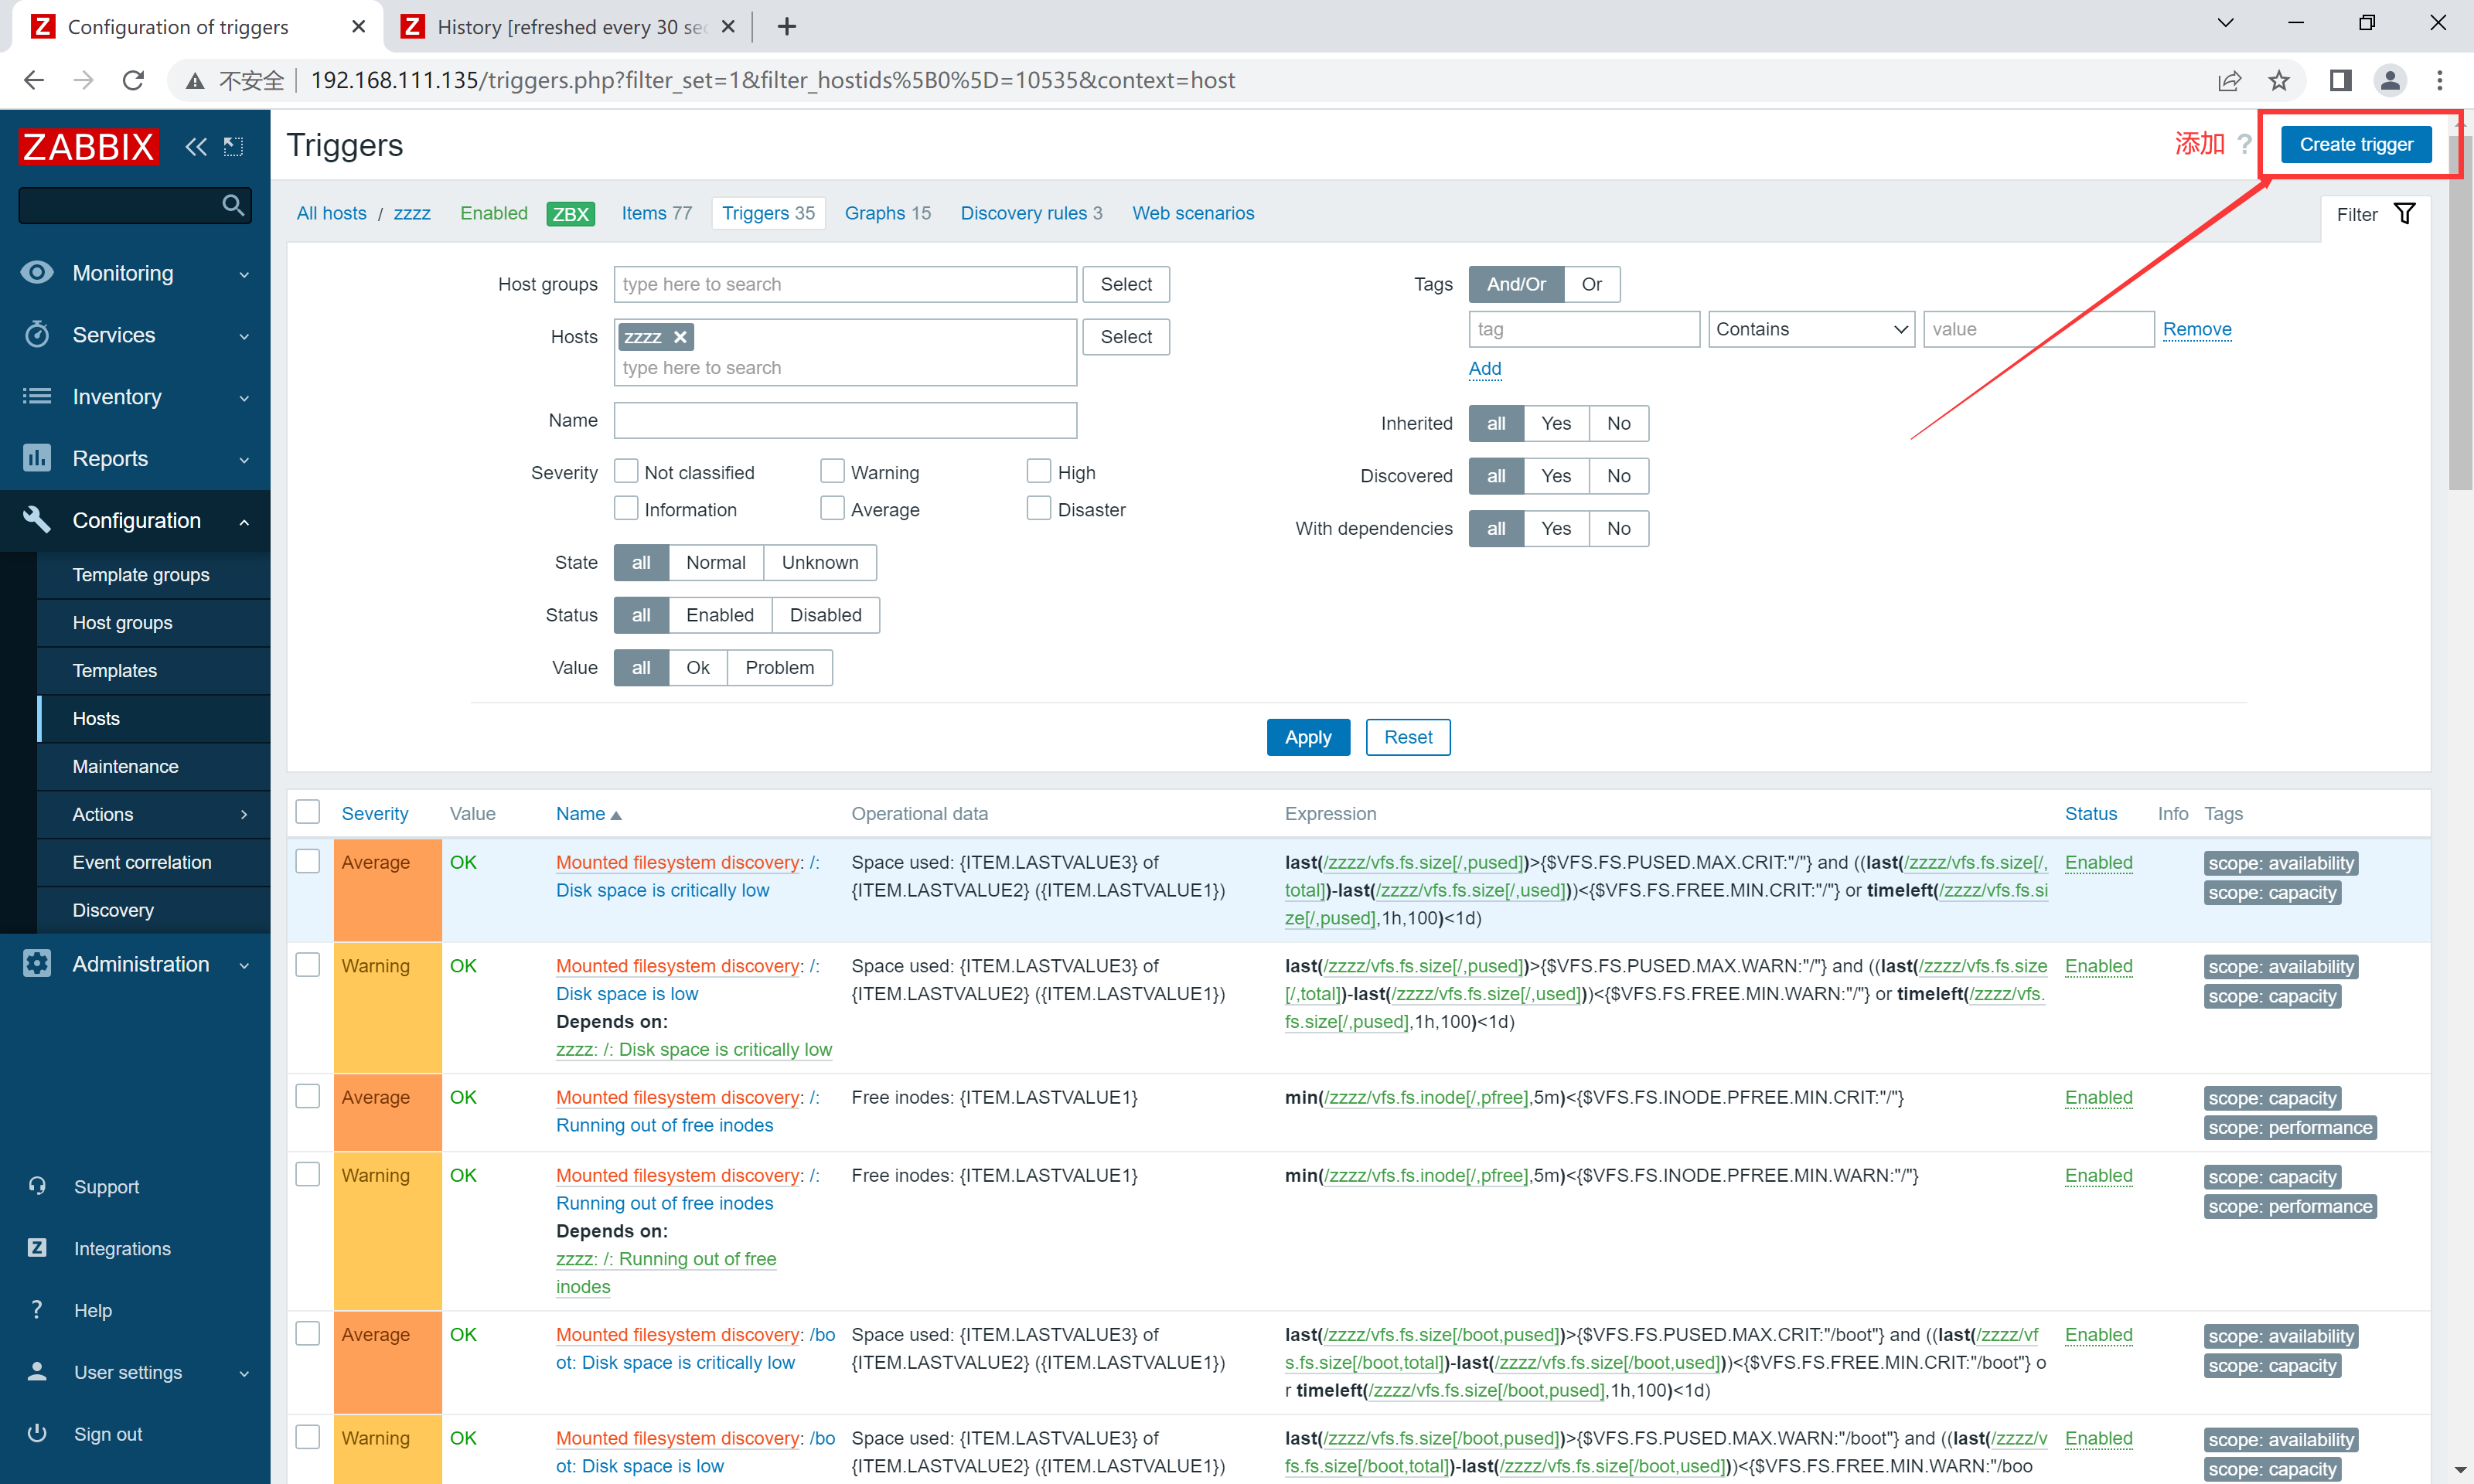
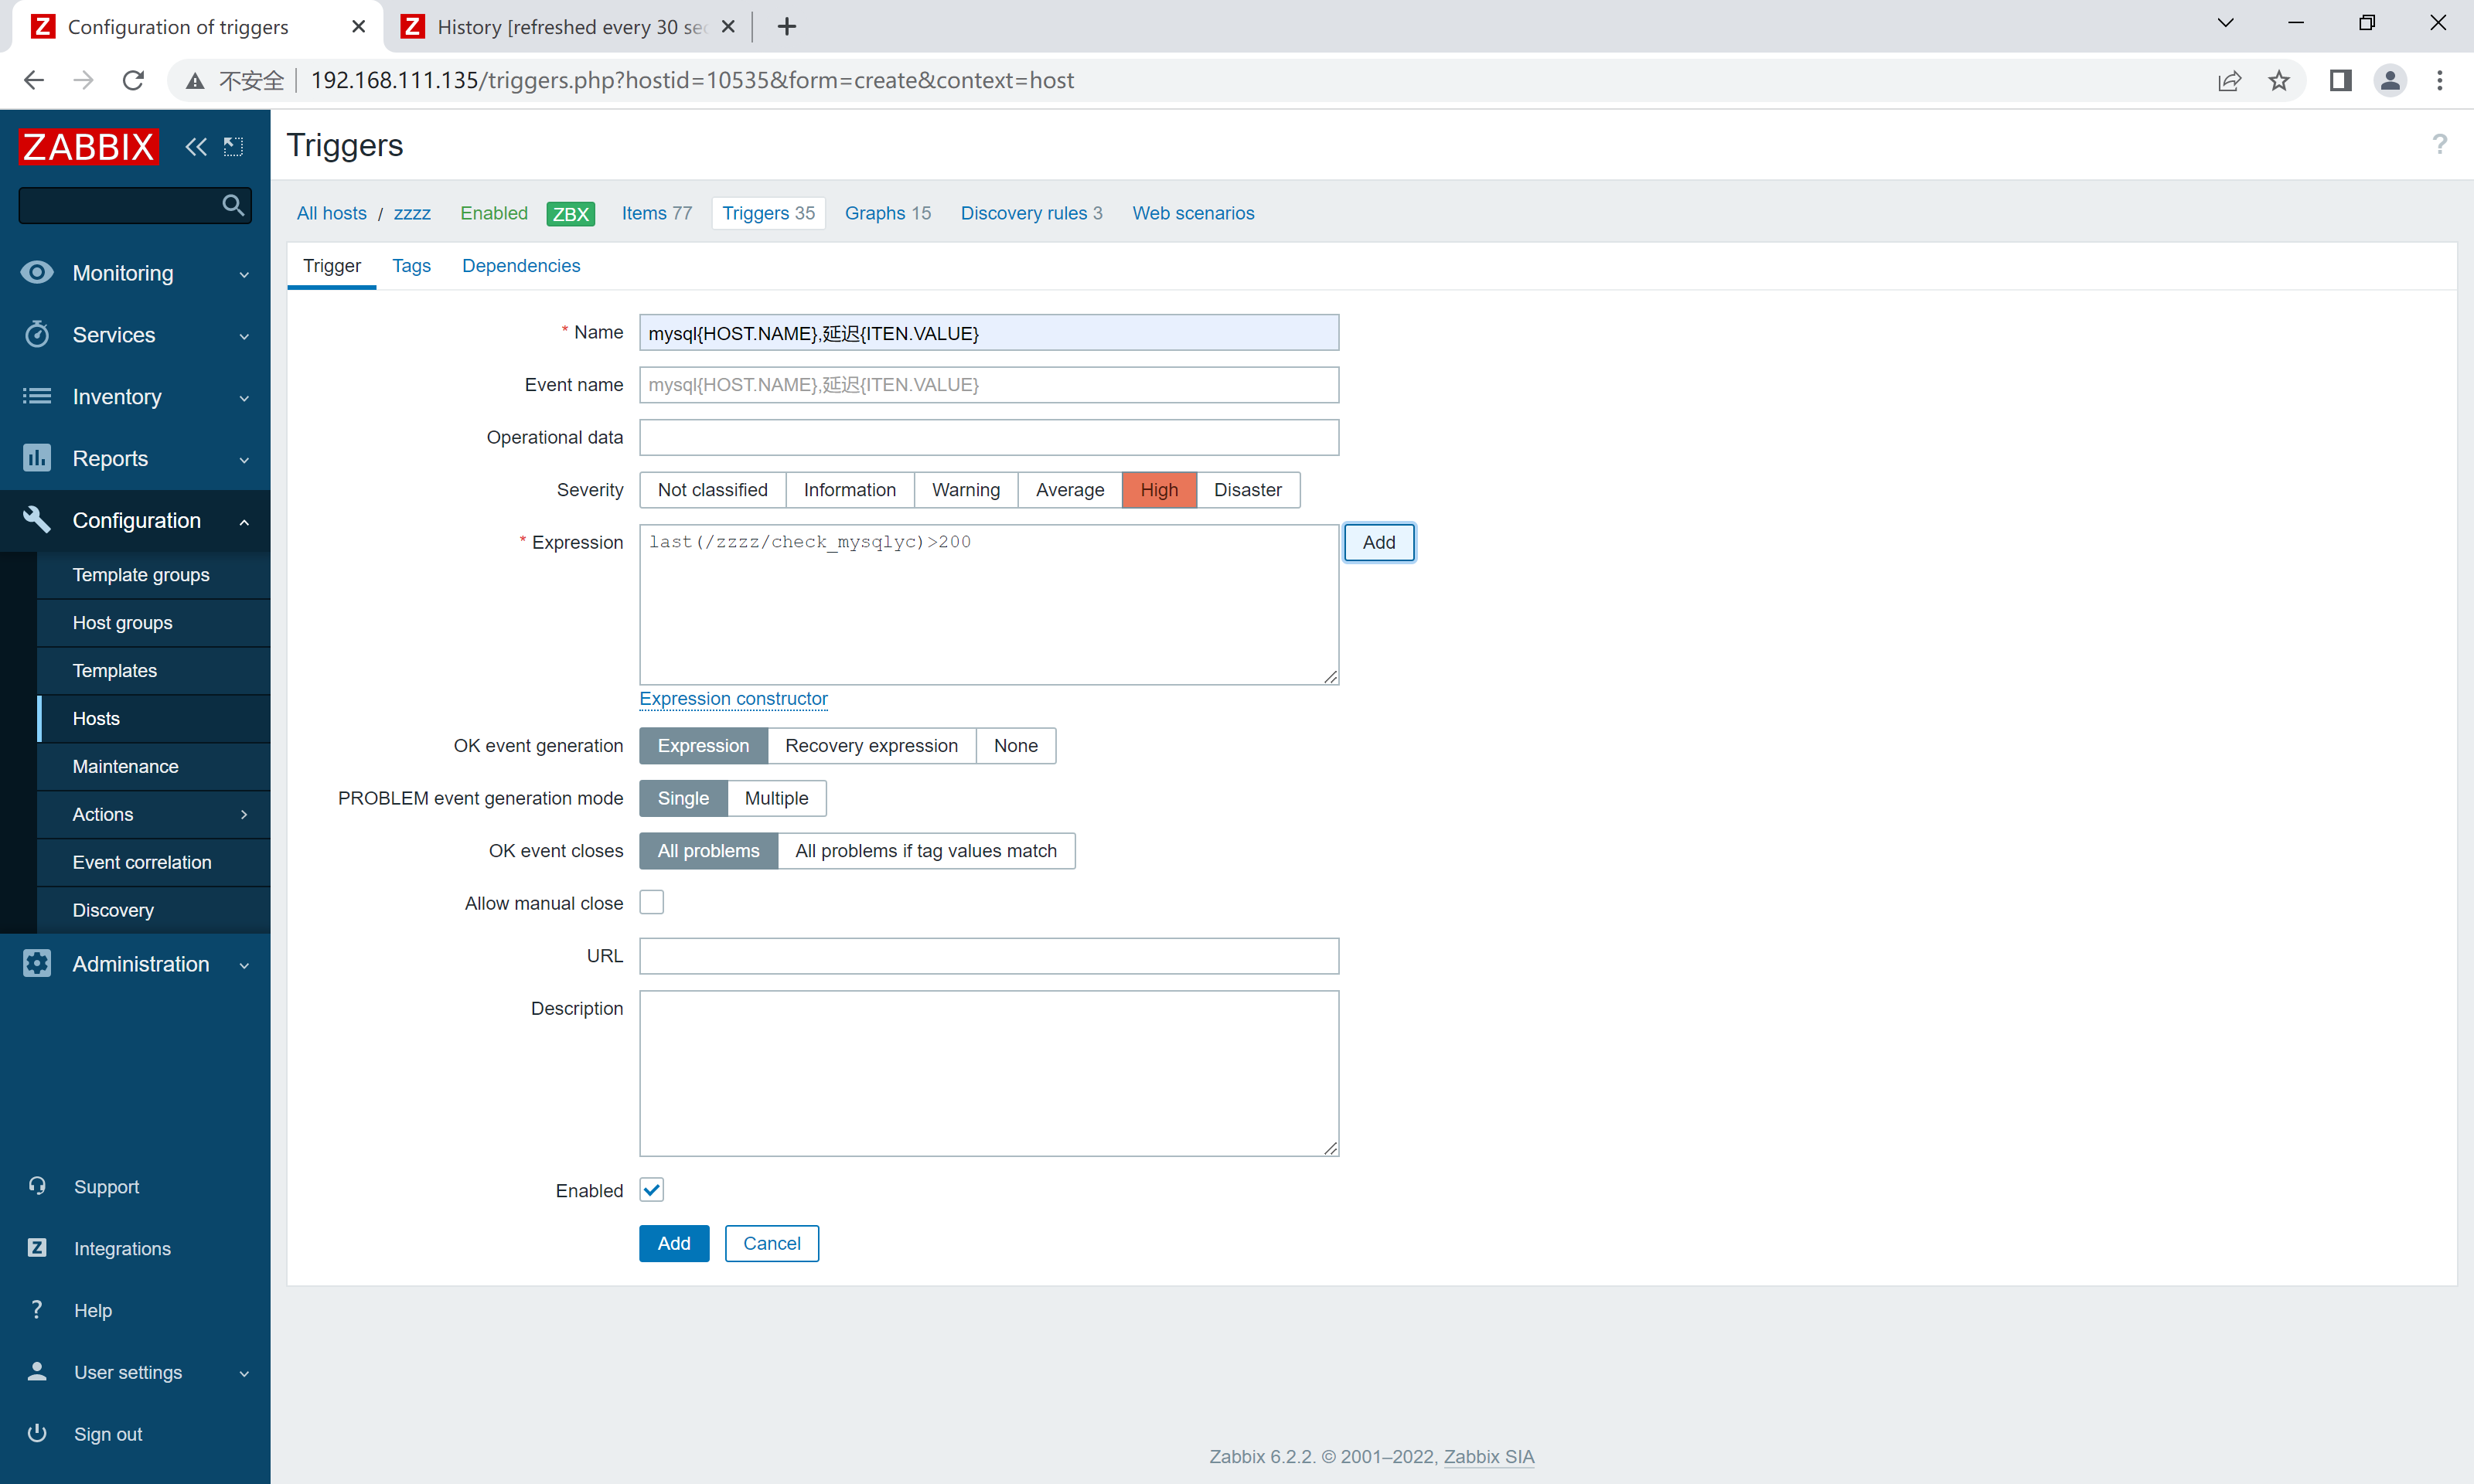
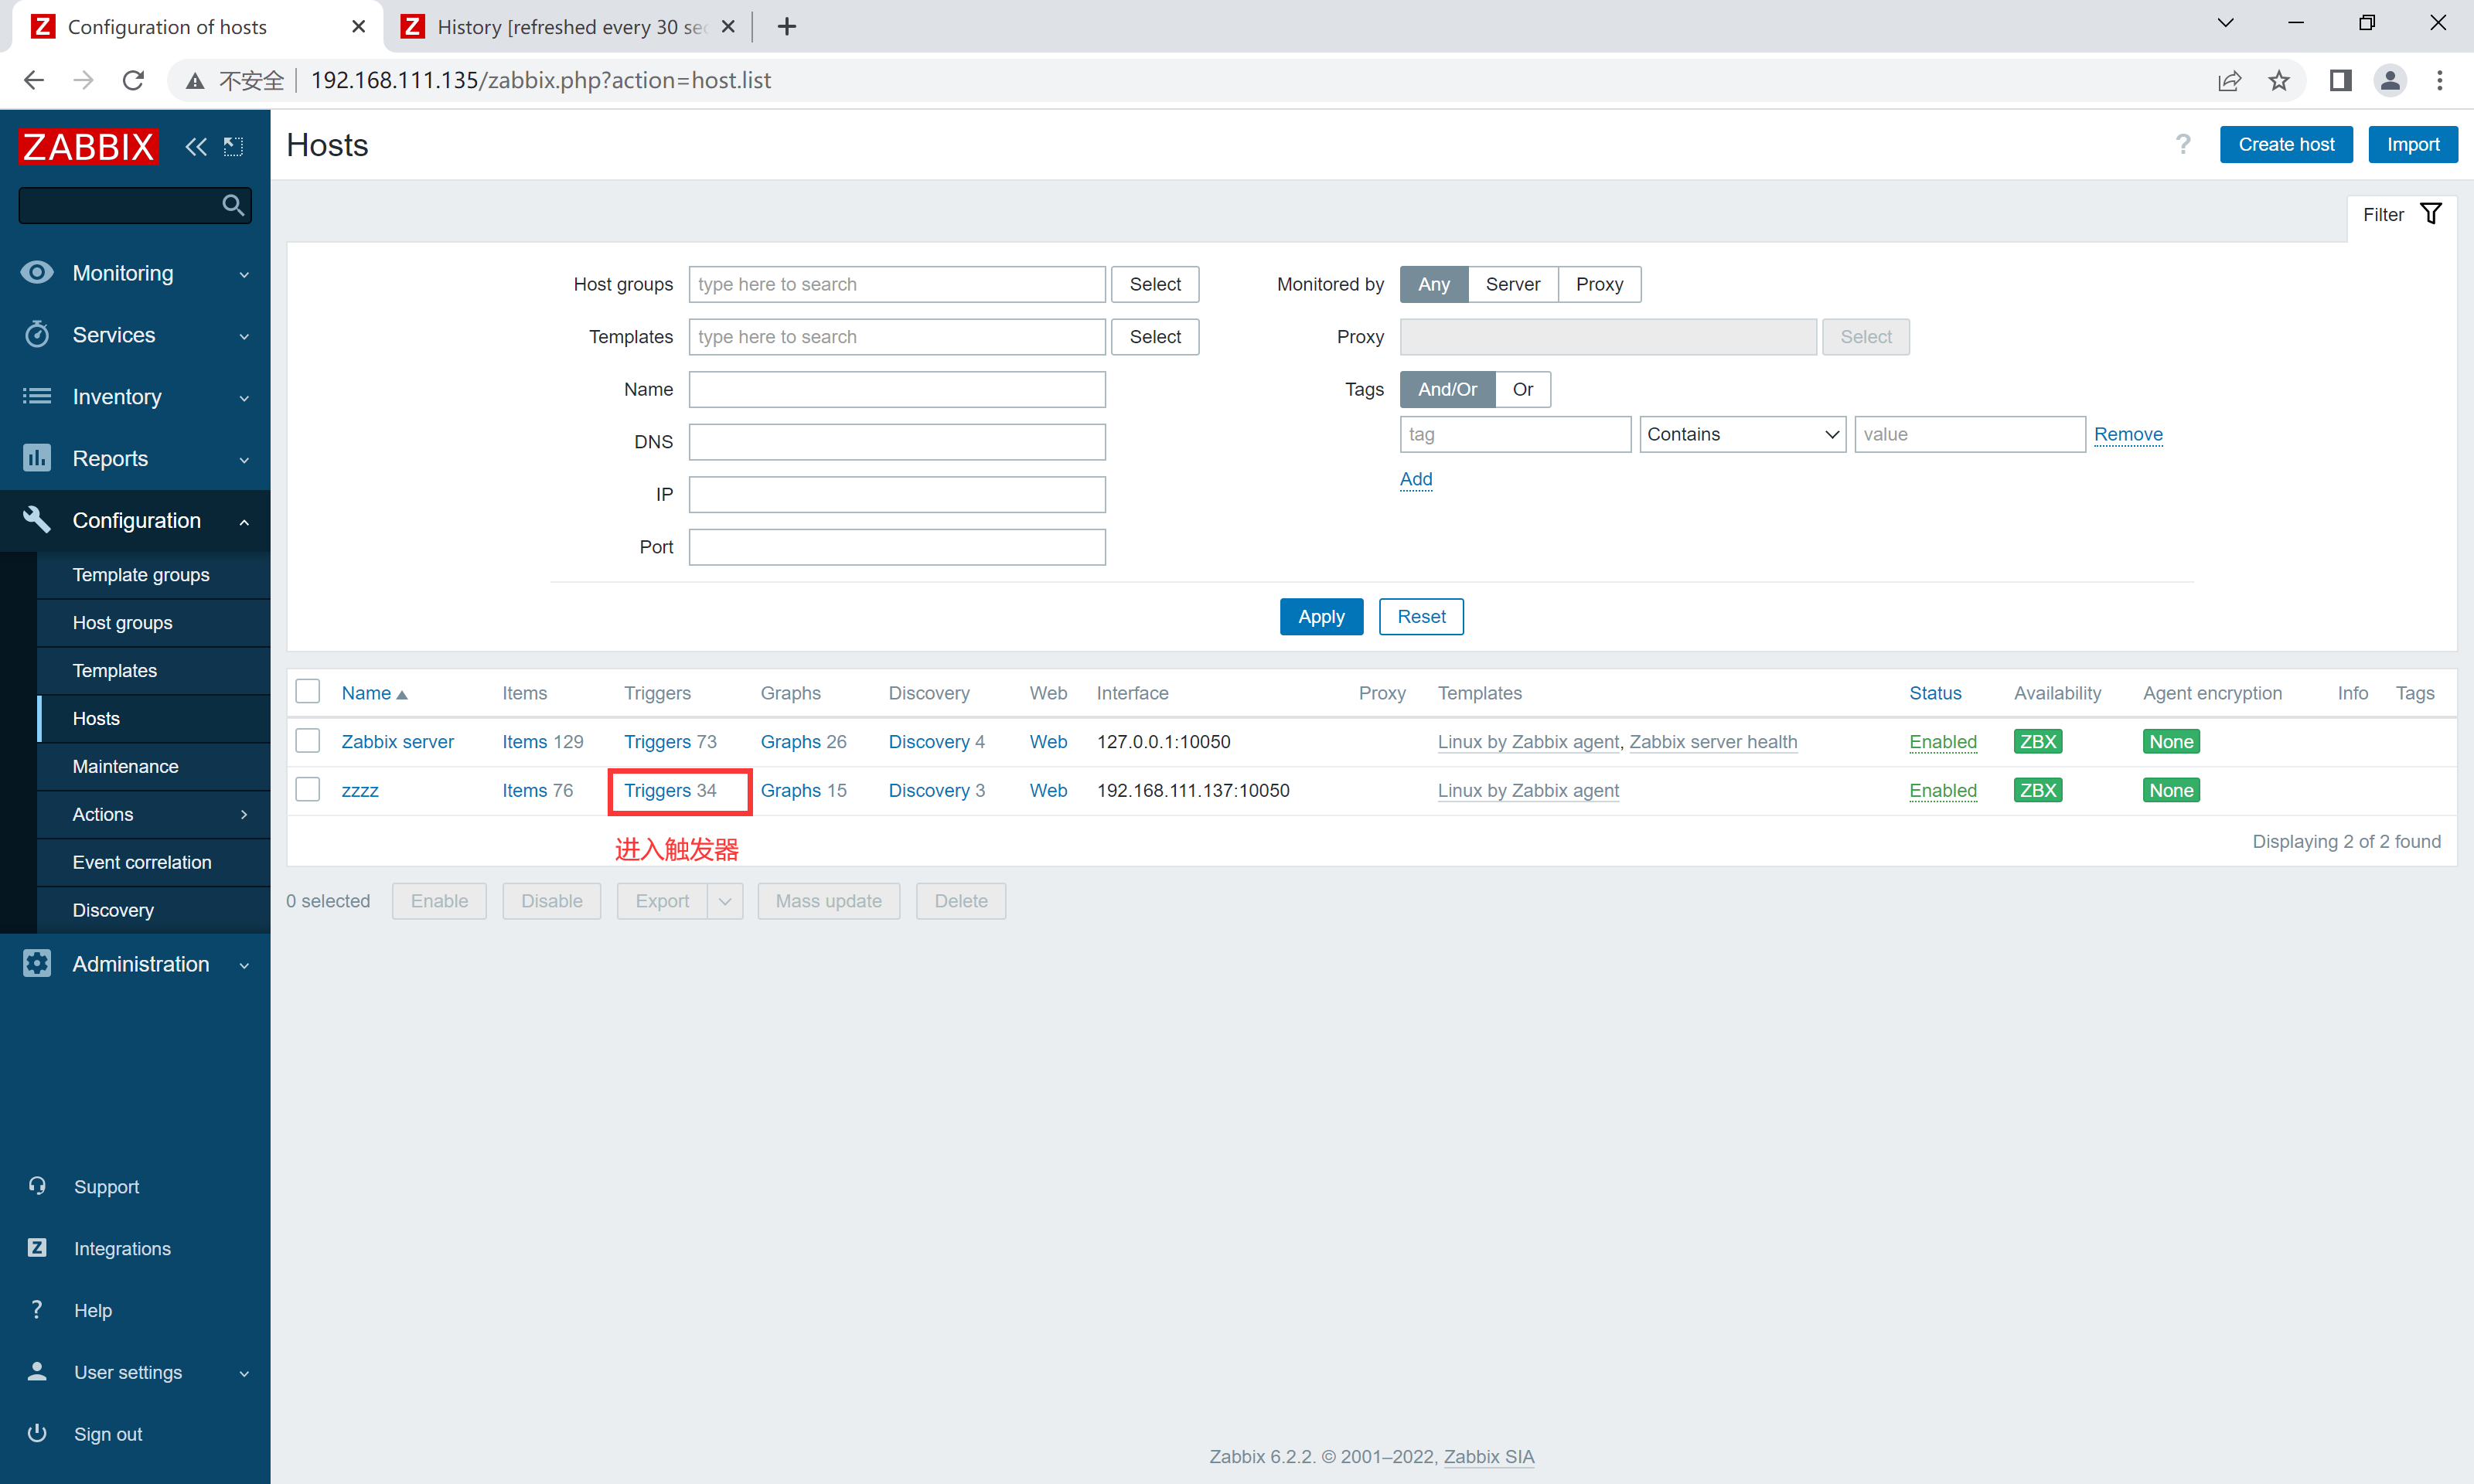
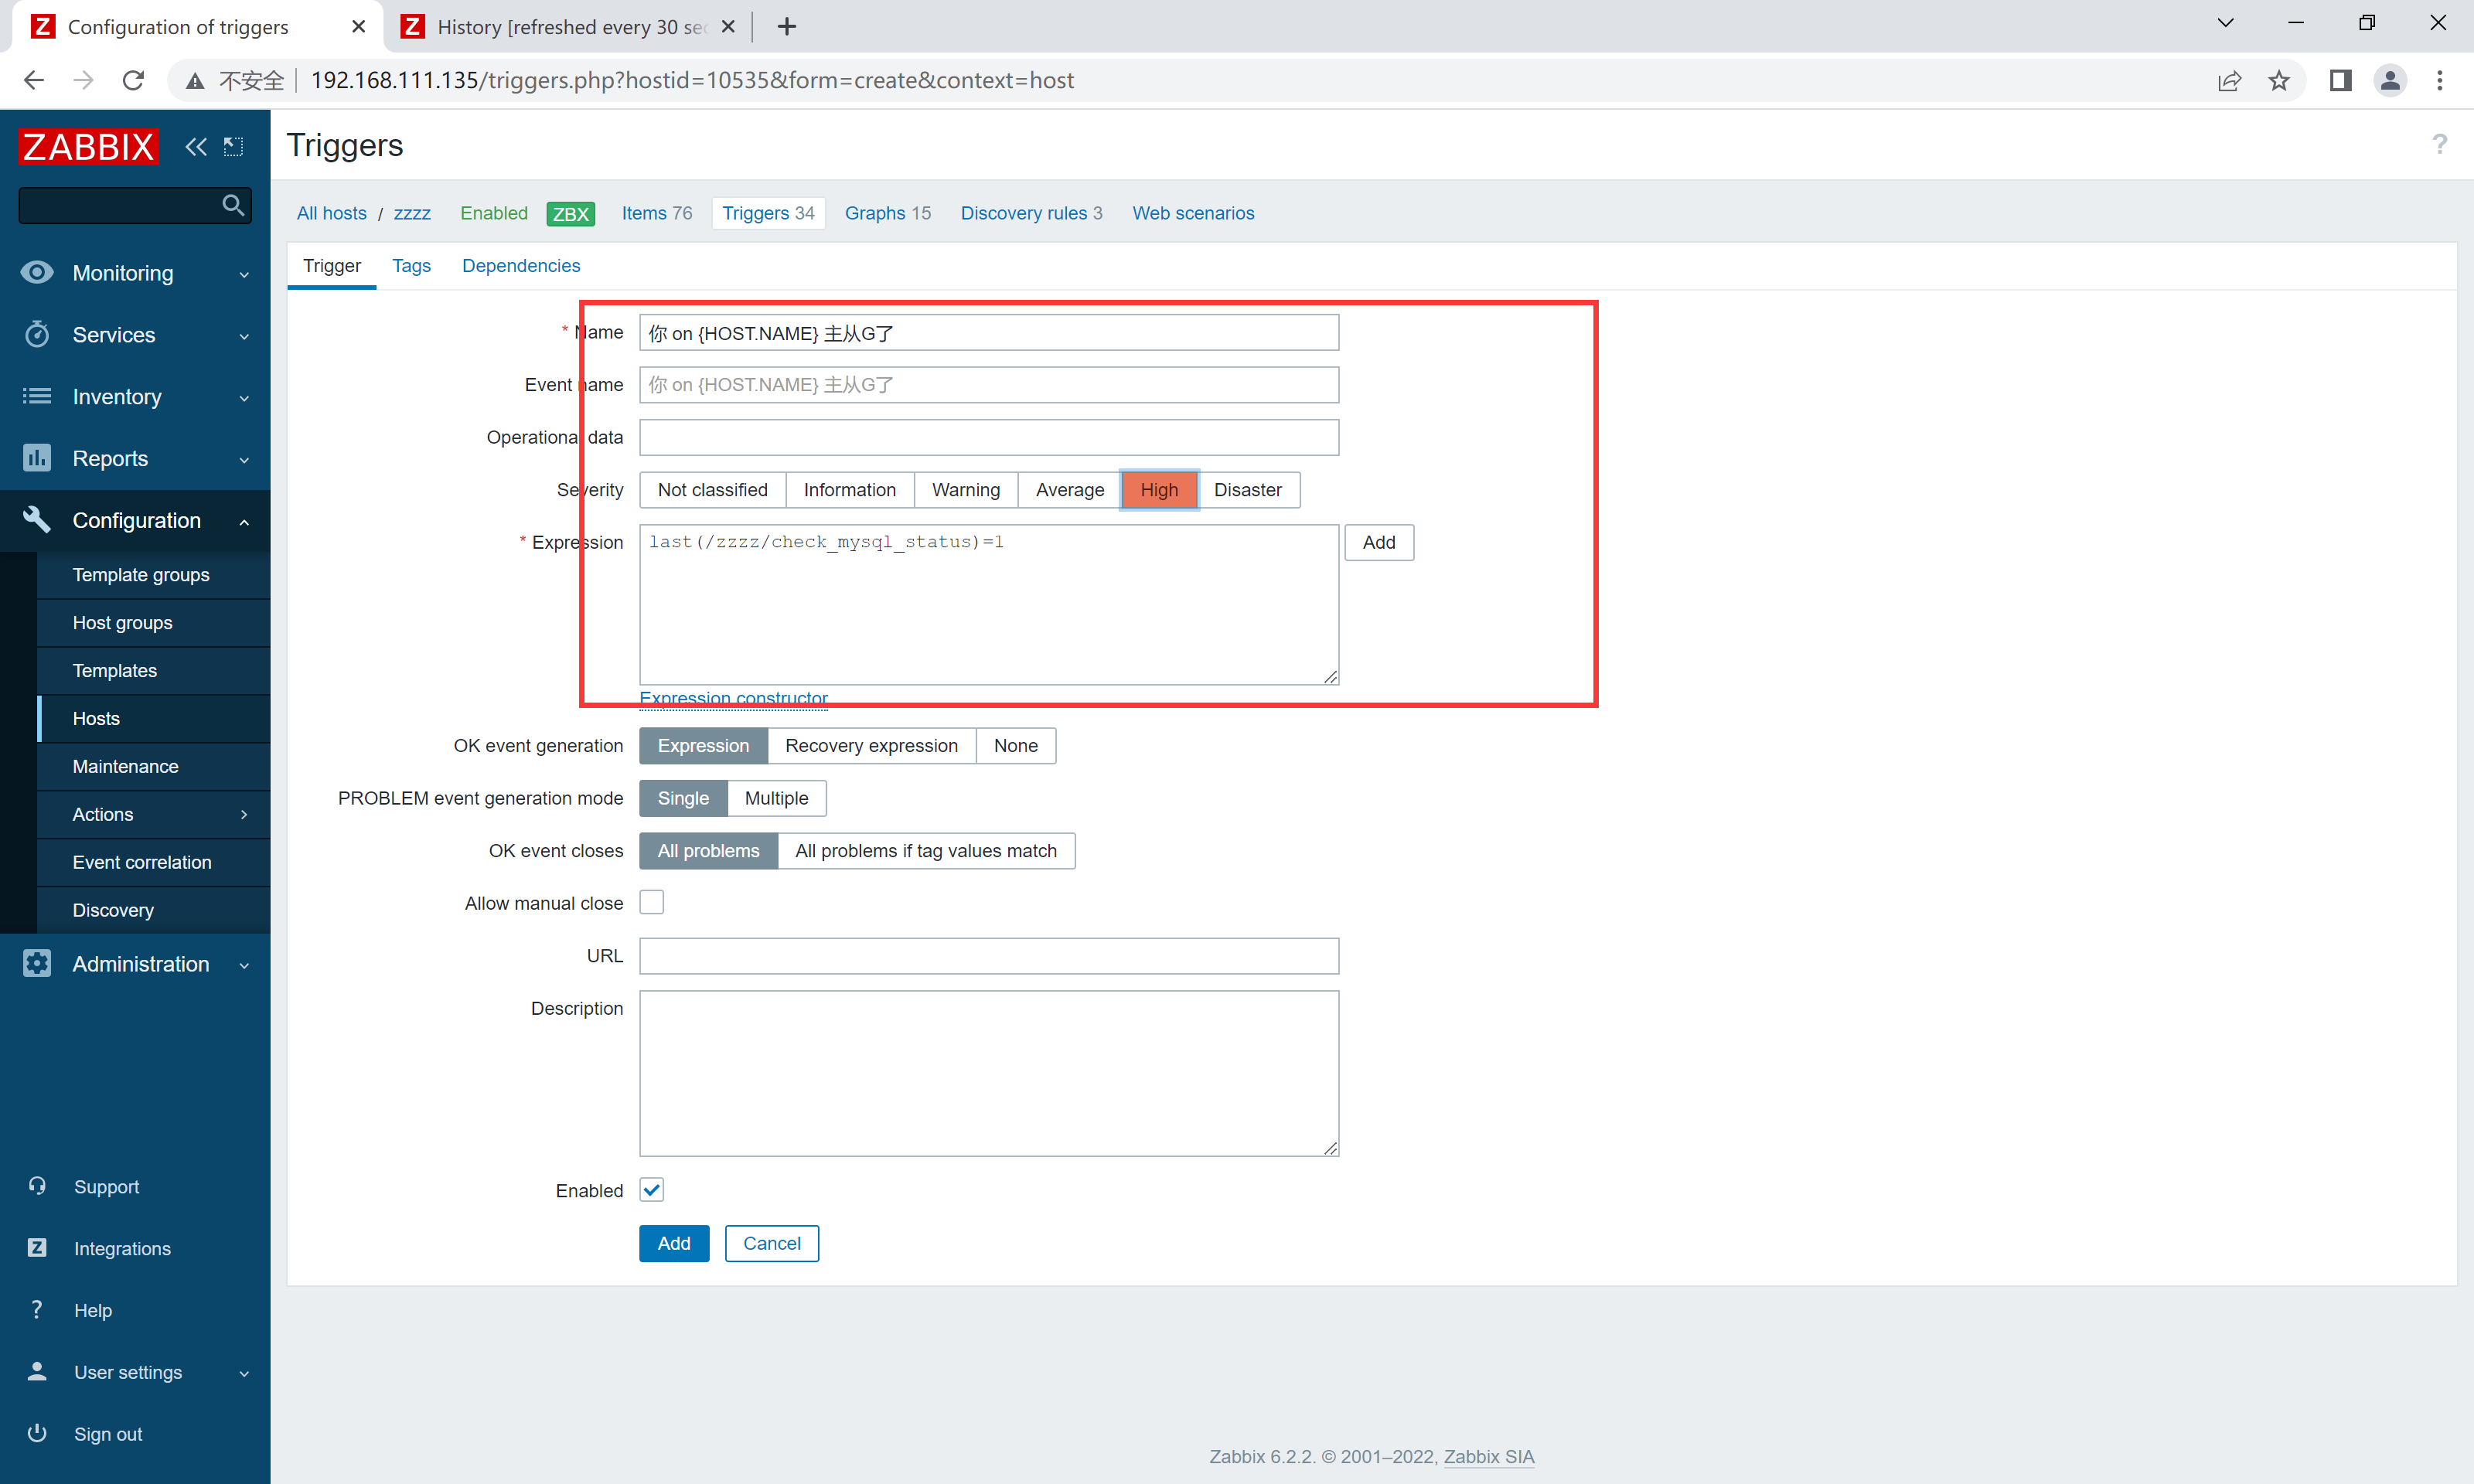
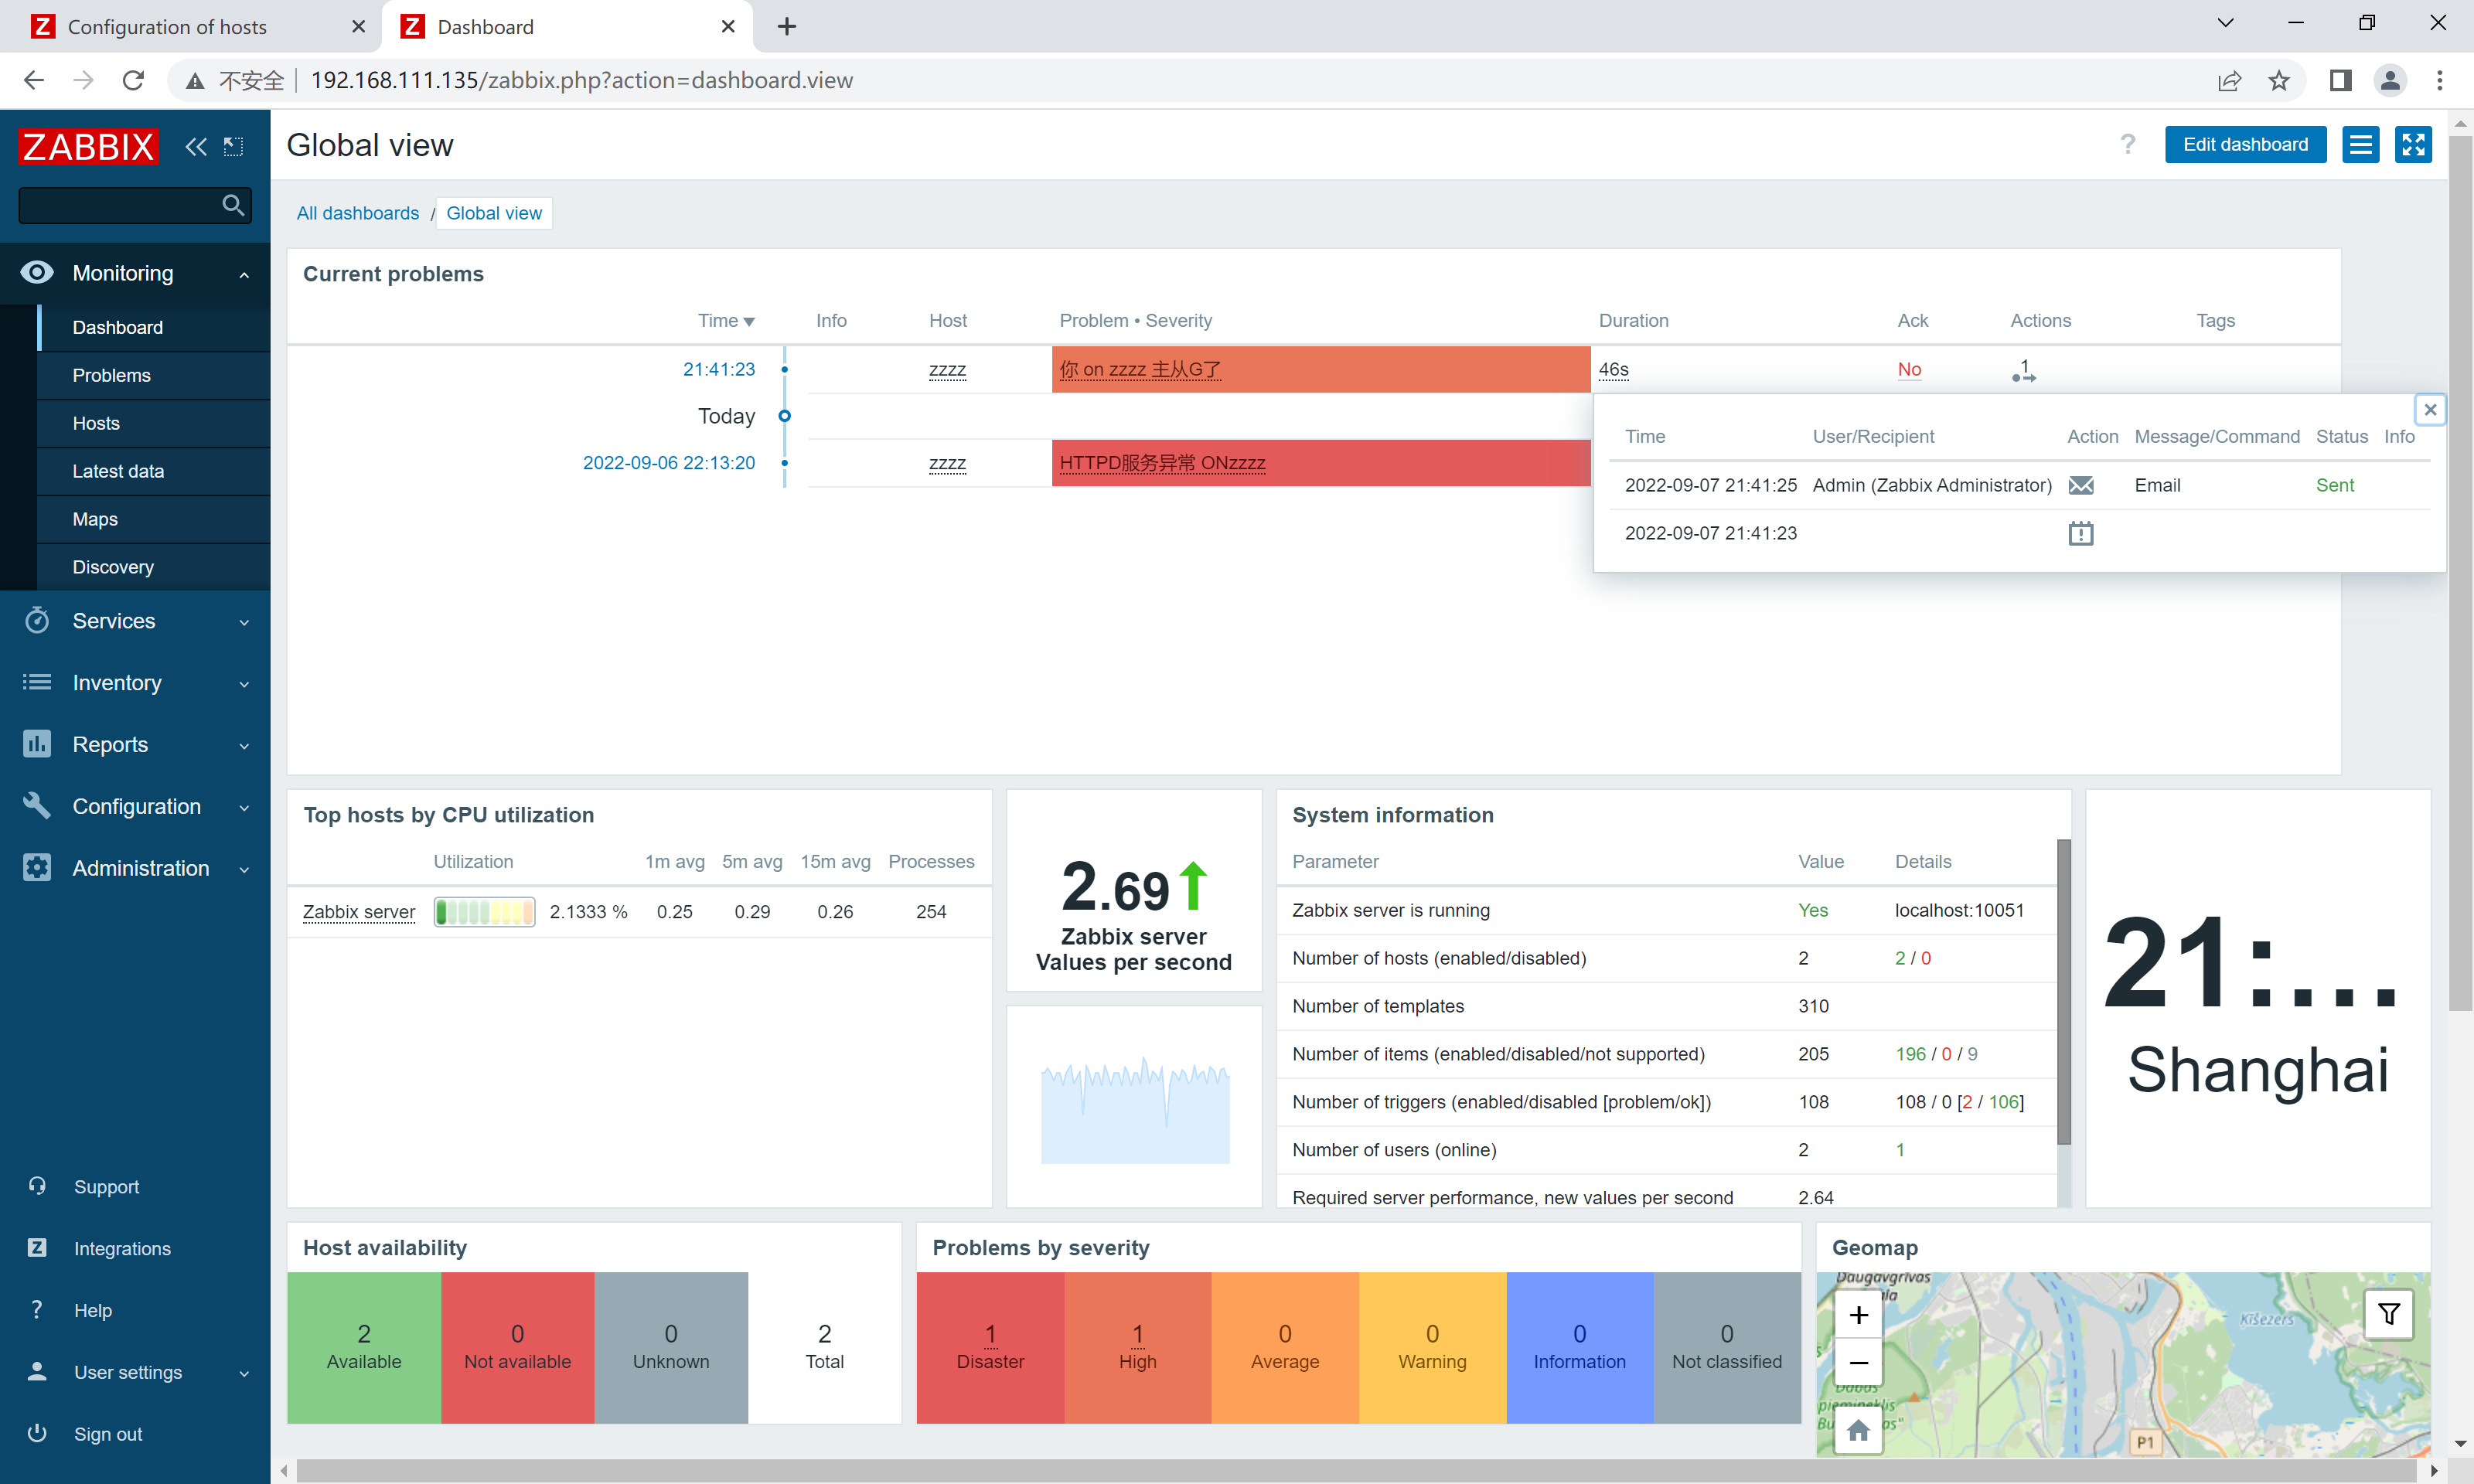
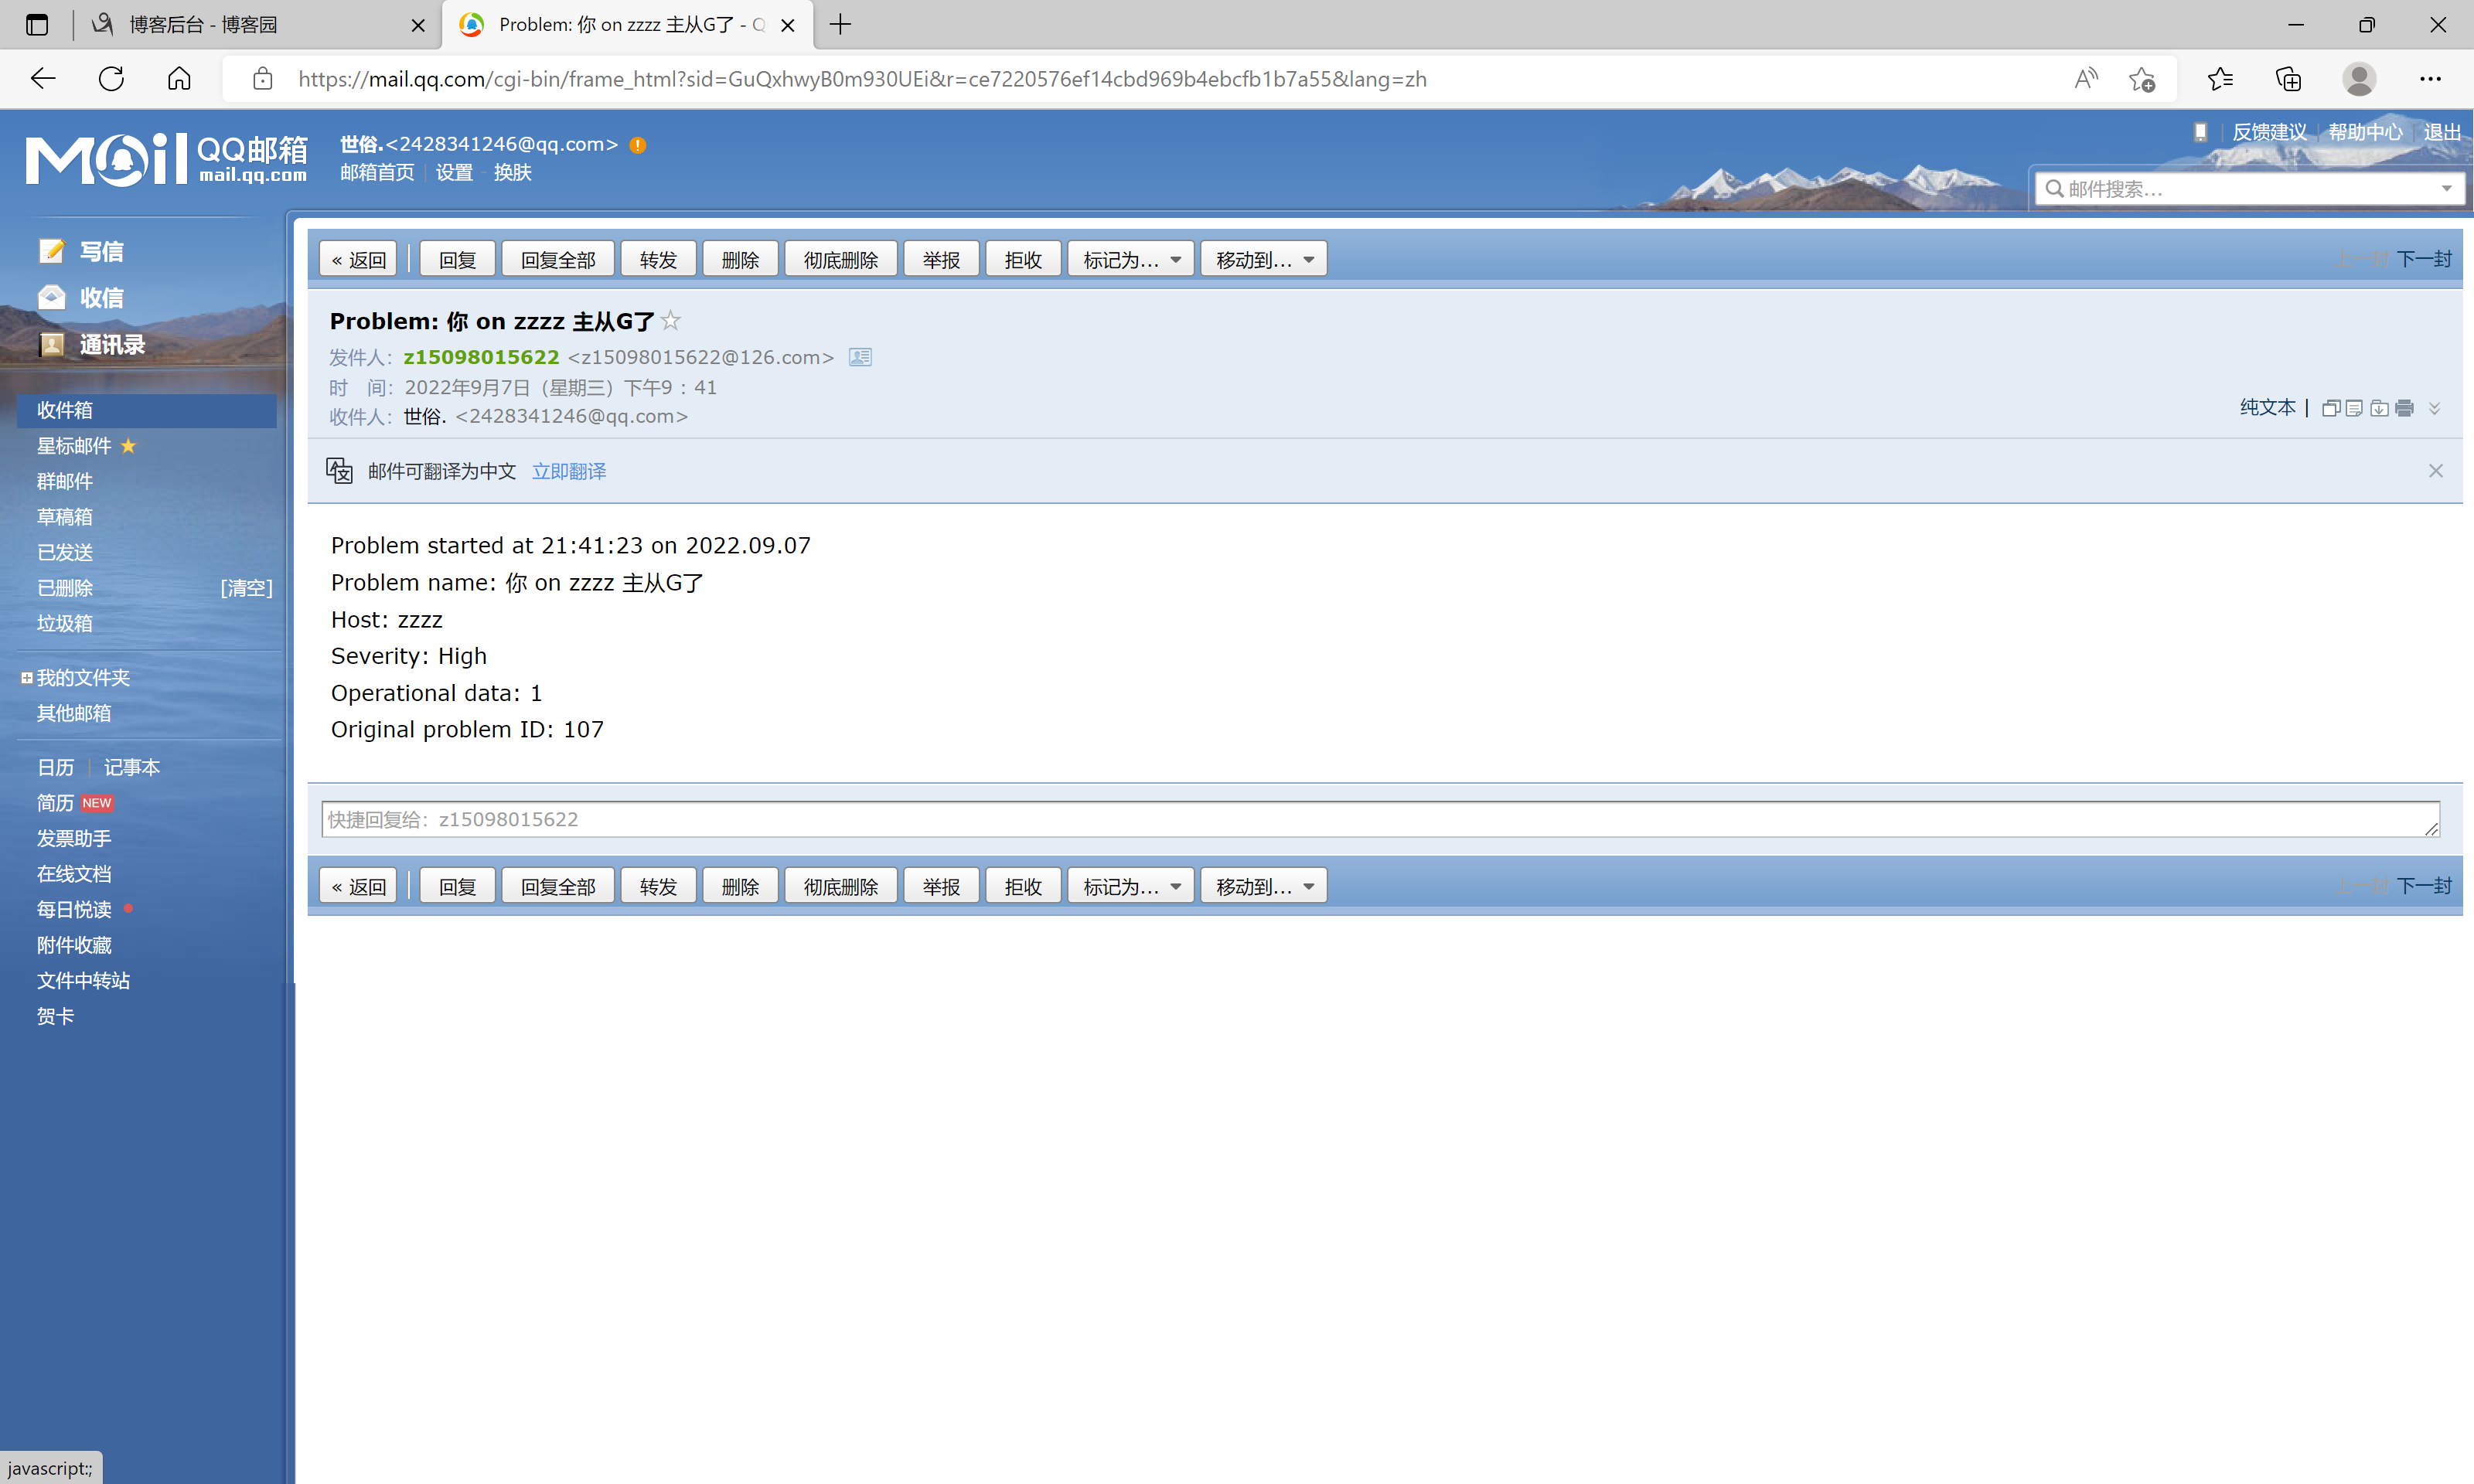
添加触发器


手动触发报警
[root@localhost ~]# mysql -uroot -p123456 -e "stop slave"
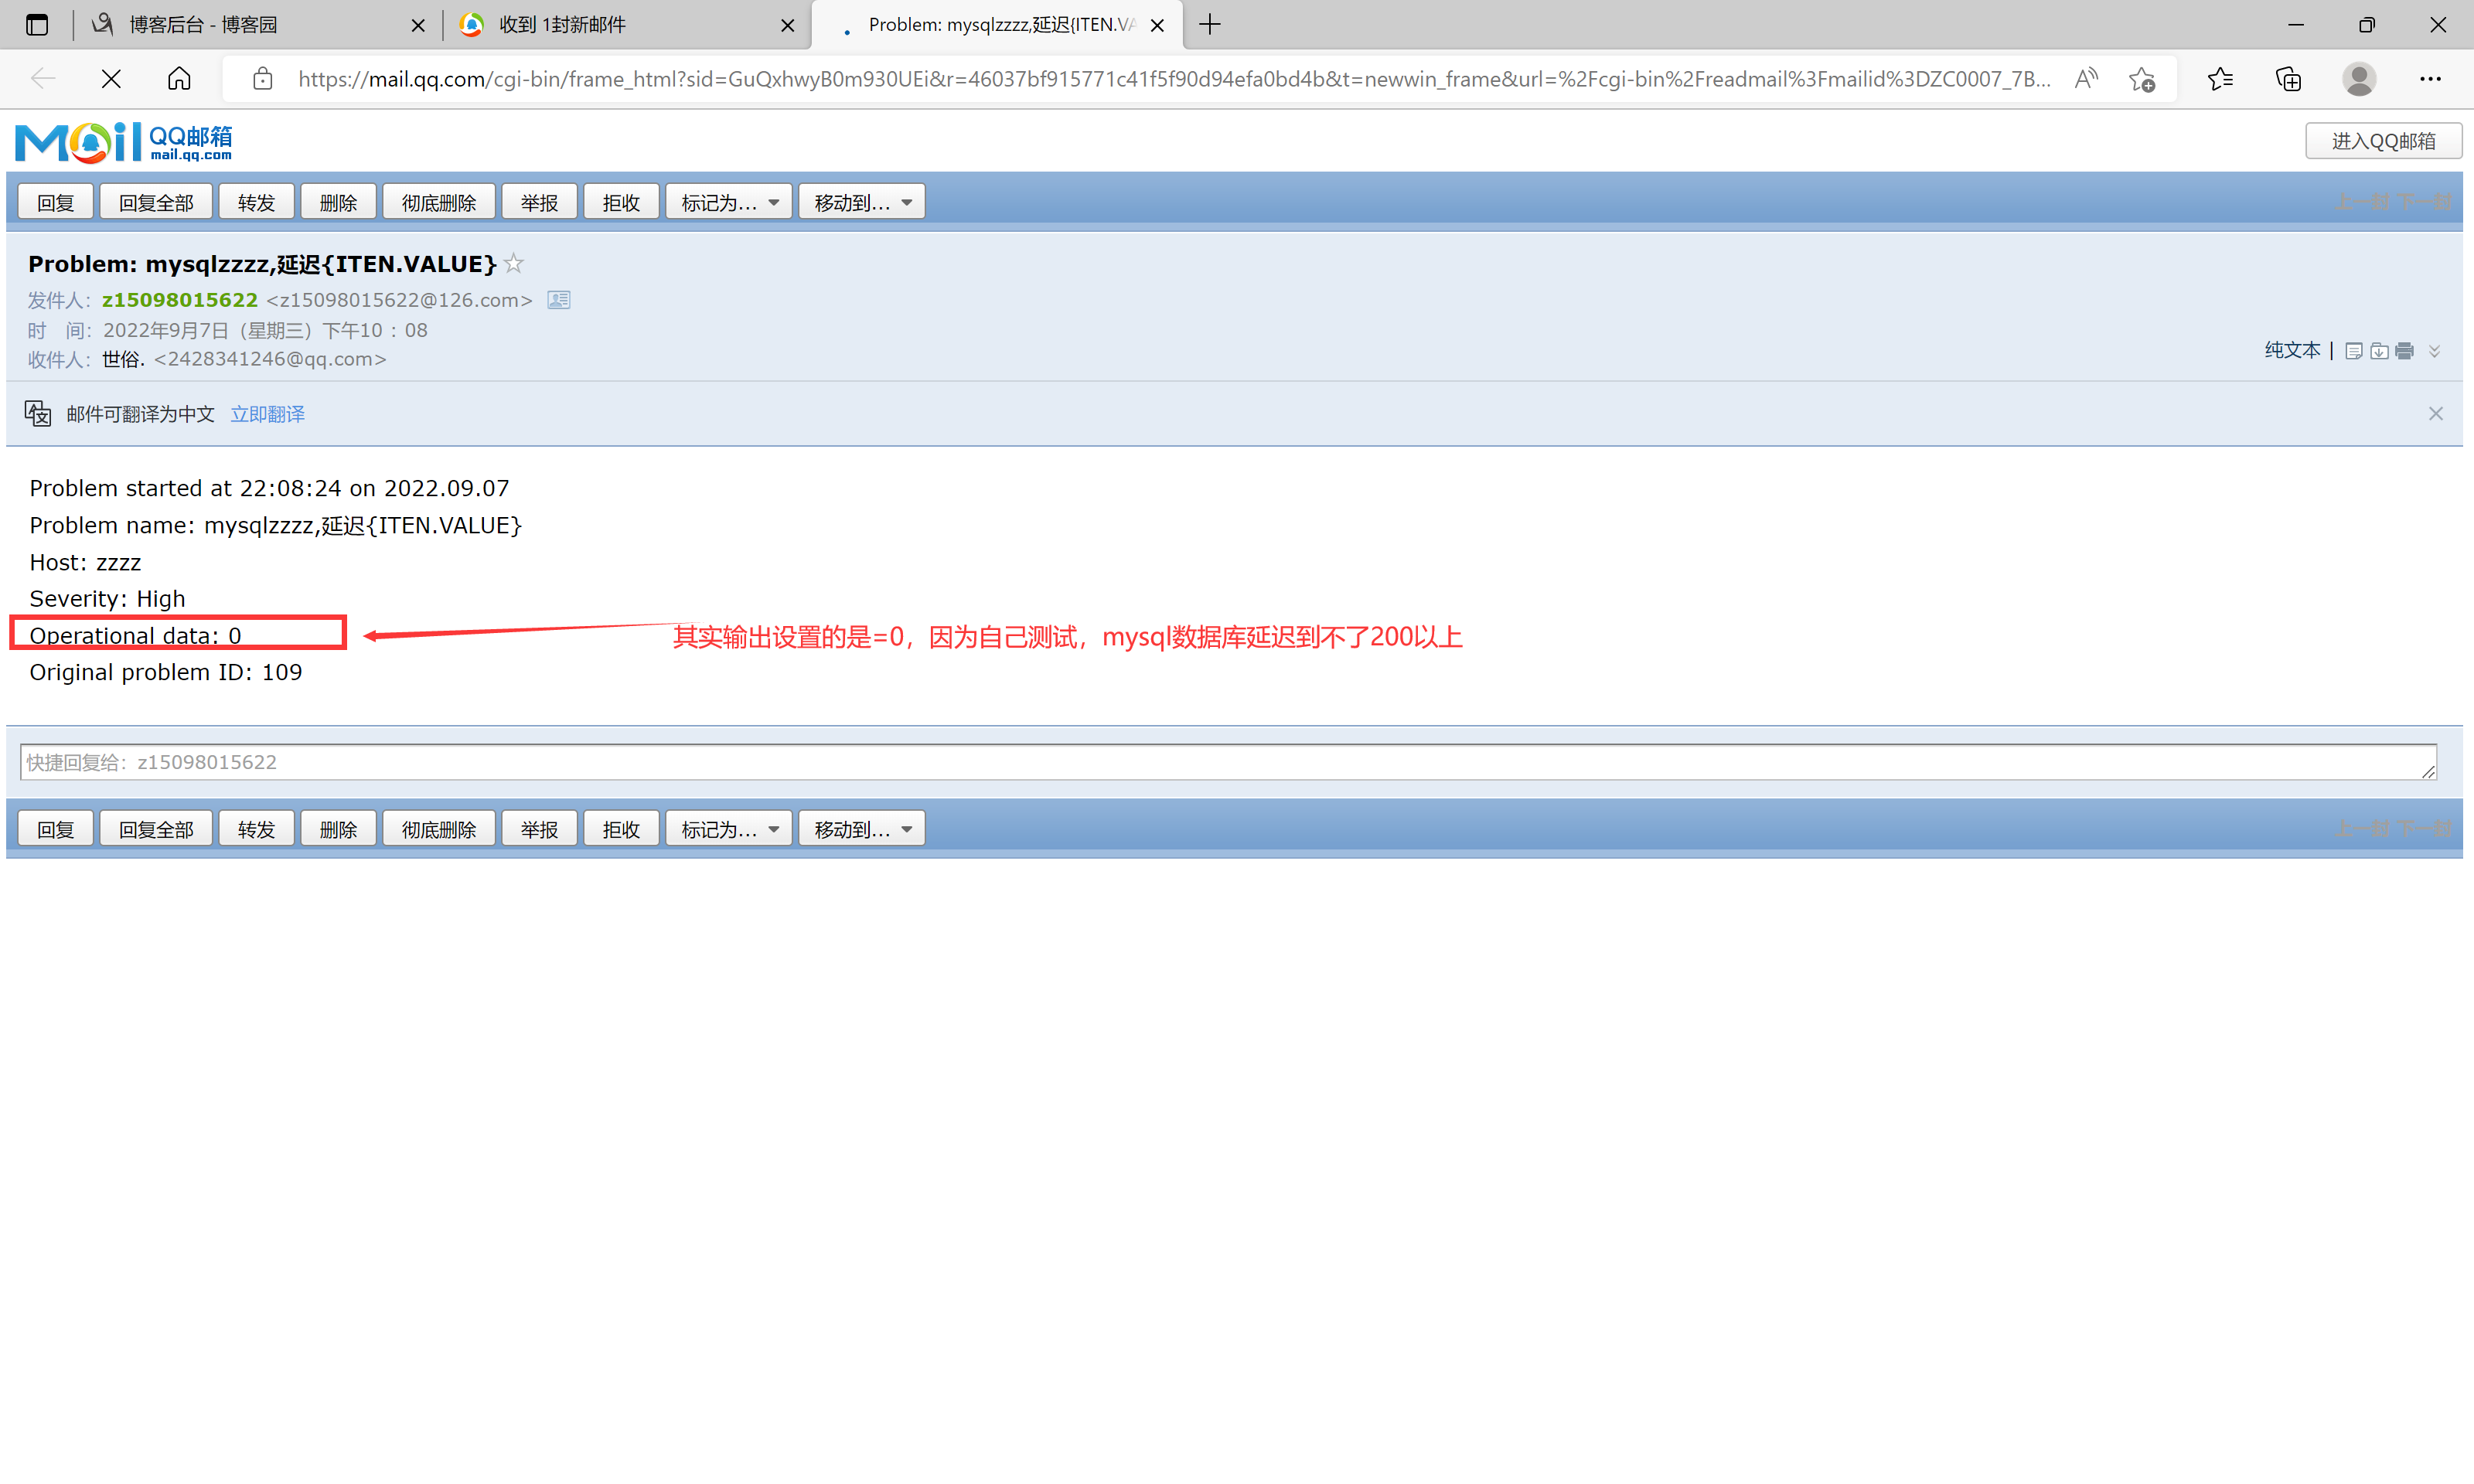
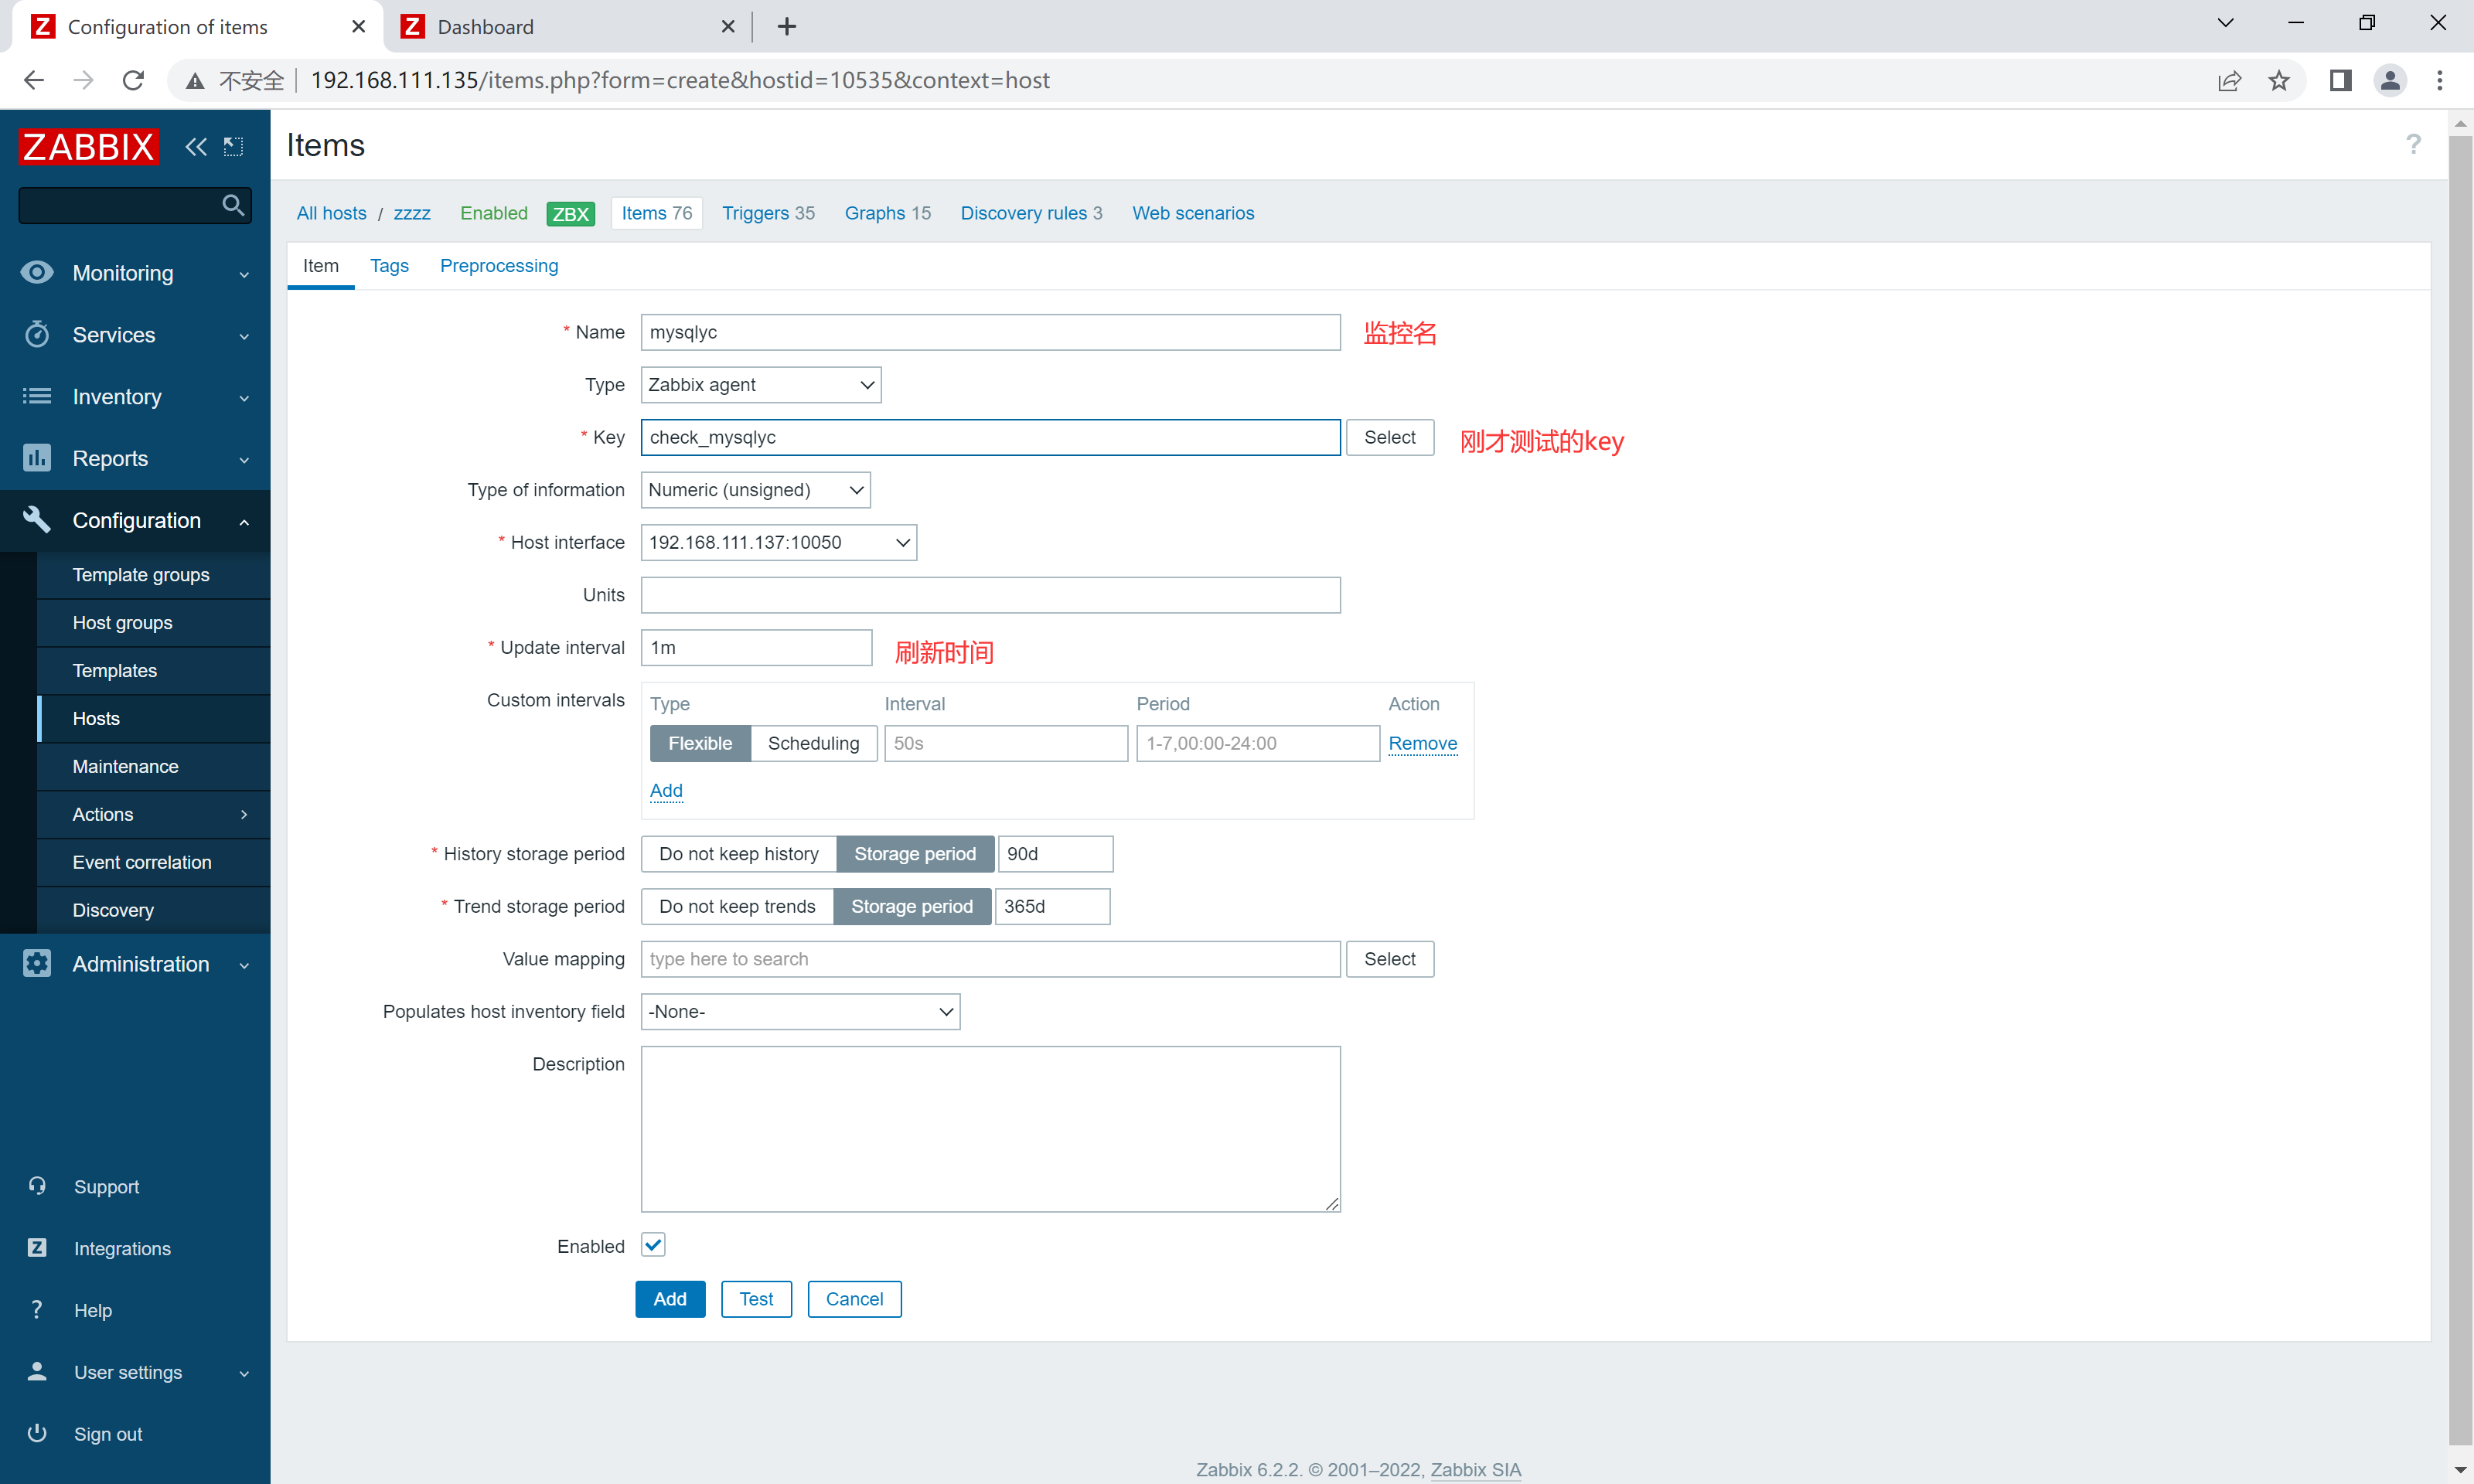
监控mysql主从延迟
#在被监控端,也就是从库,编写脚本
[root@localhost ~]# vim /scripts/mysqlyc.sh
#!/bin/bash
yc=`mysql -uroot -p123456 -e "show slave status\G" 2> /dev/null |awk '/Seconds_Behind_Master/ {print $2}' `
echo $yc
[root@localhost ~]# chmod +x /scripts/mysqlyc.sh
#在被监控端,也就是从库,修改配置文件
[root@localhost ~]# vim /usr/local/etc/zabbix_agentd.conf
UserParameter=check_mysqlyc,/bin/bash /scripts/mysqlyc.sh
#重启zabbix_agentd
[root@localhost ~]# pkill zabbix
[root@localhost ~]# zabbix_agentd
#服务端测试
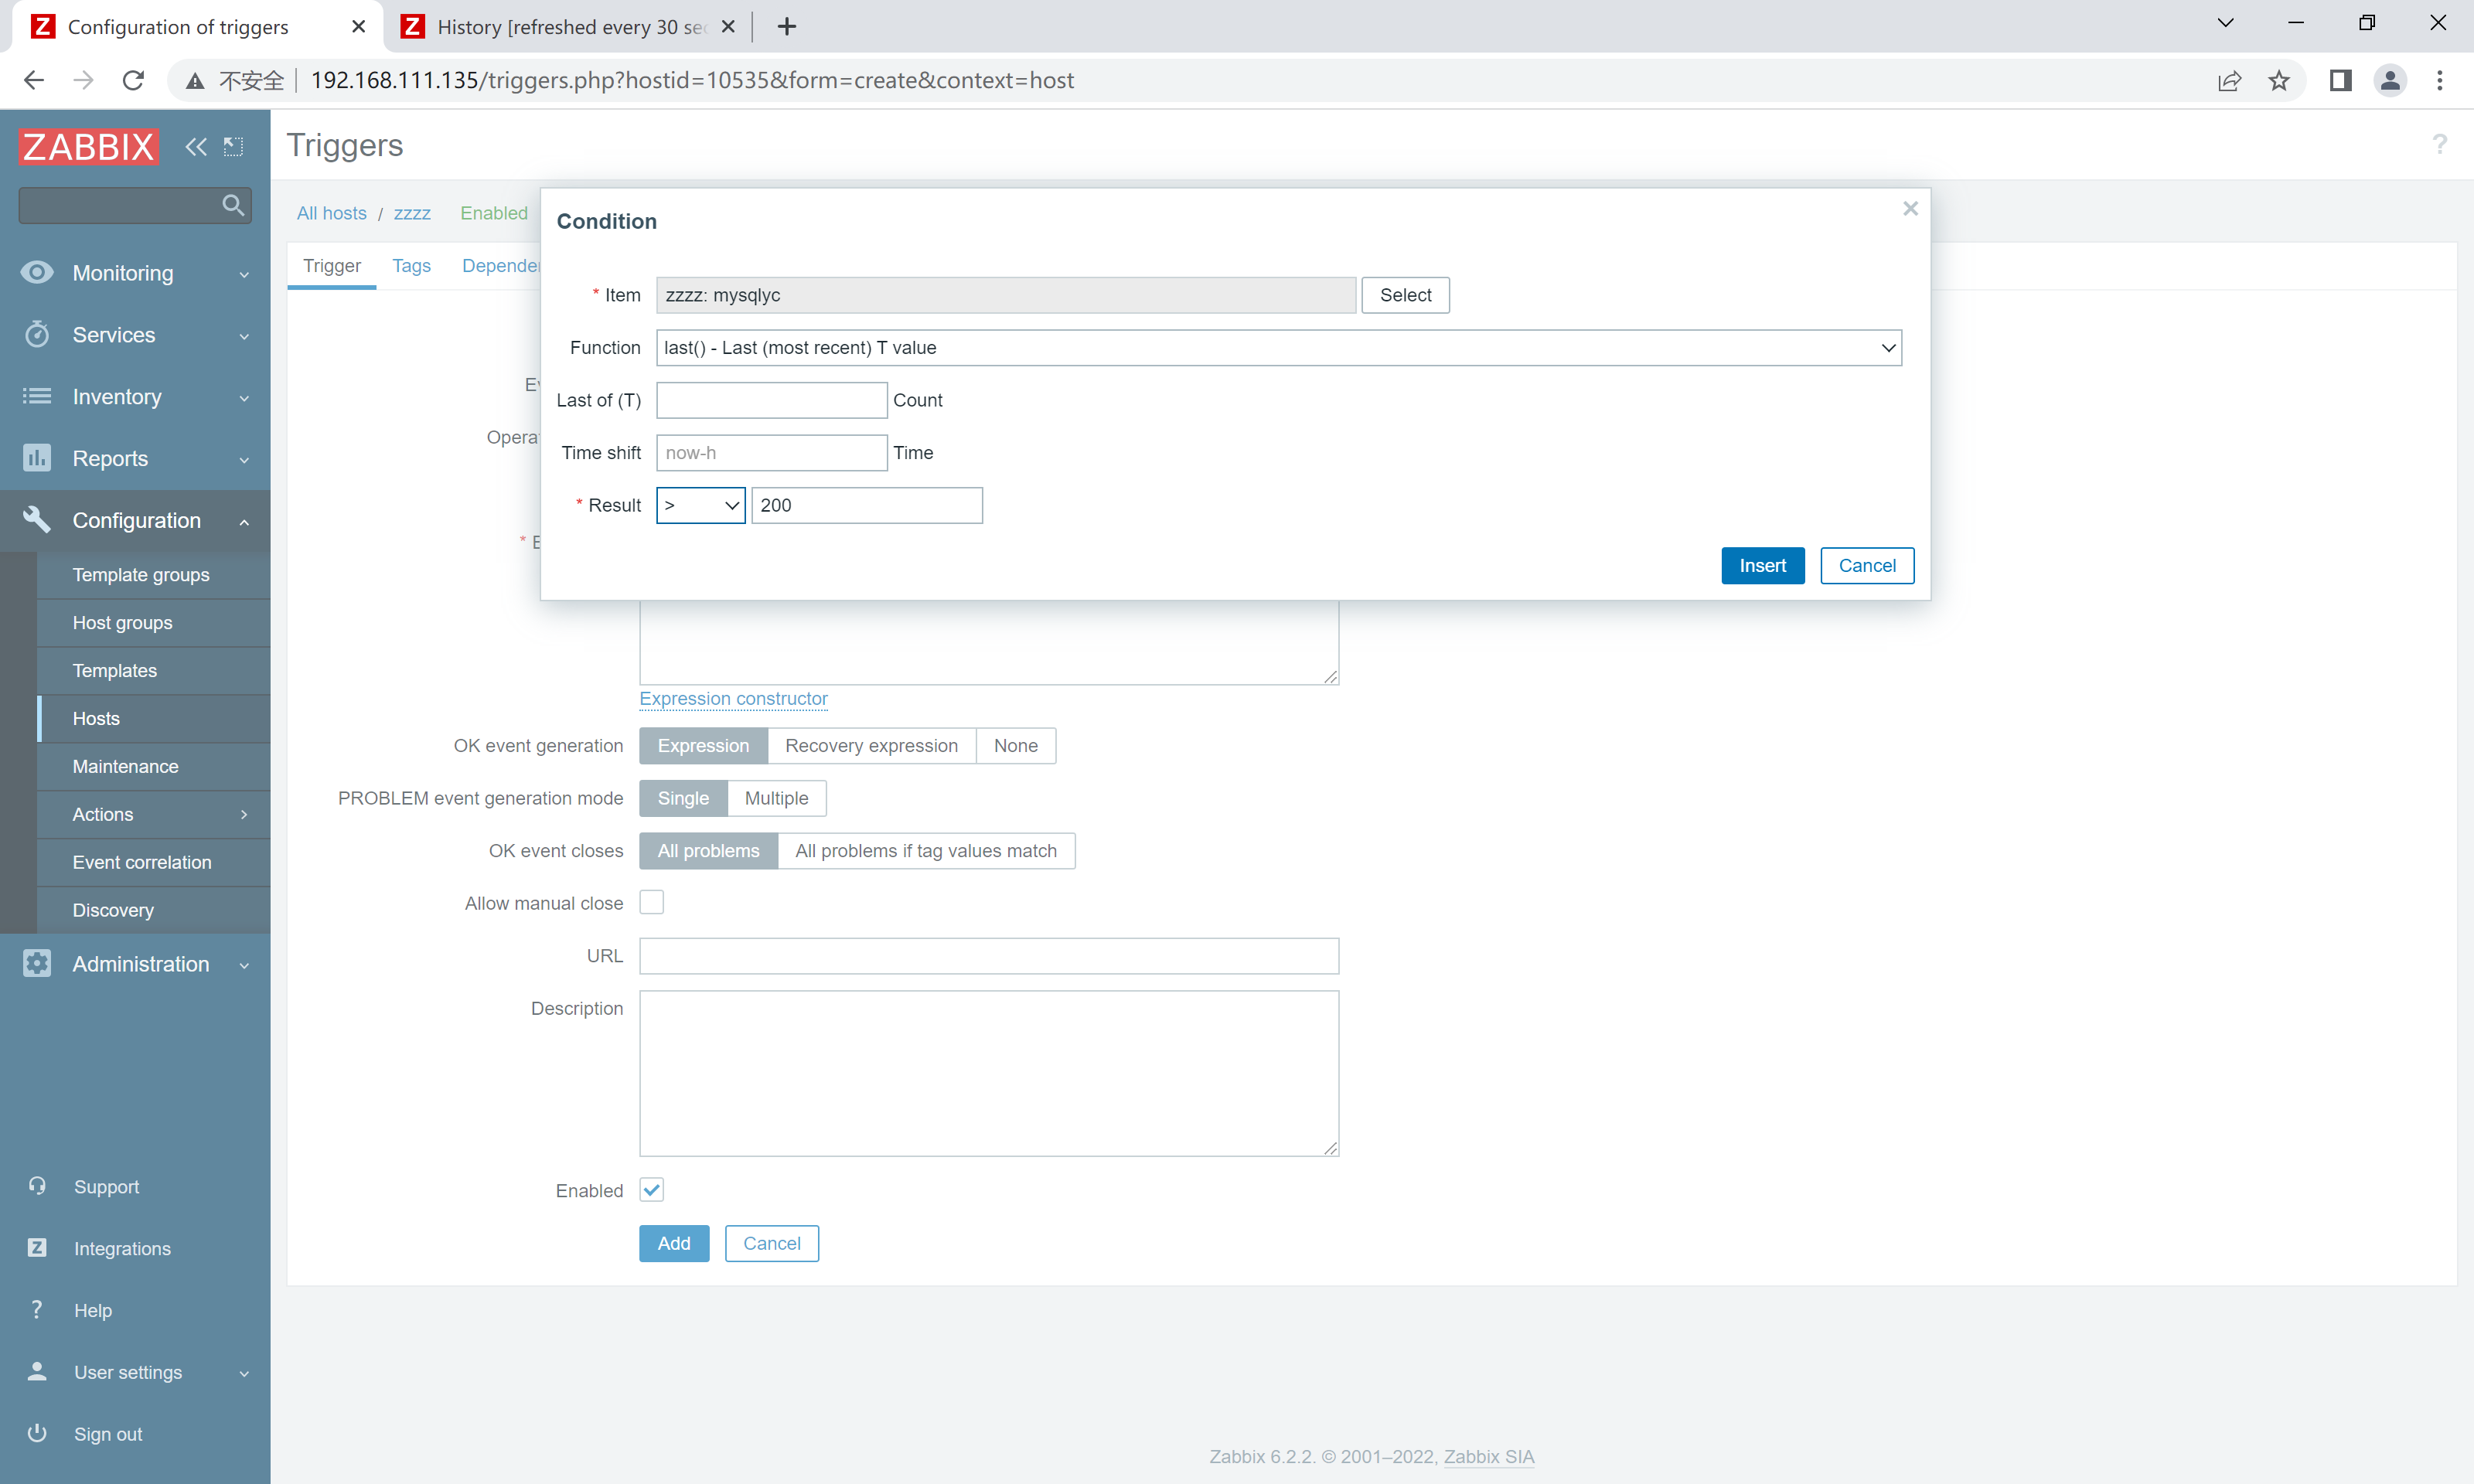
[root@zabbix ~]# zabbix_get -s 192.168.111.137 -k check_mysqlyc
0
添加监控项

添加触发器