一、Installation Nginx-1.22.0 on CentOS 7.9
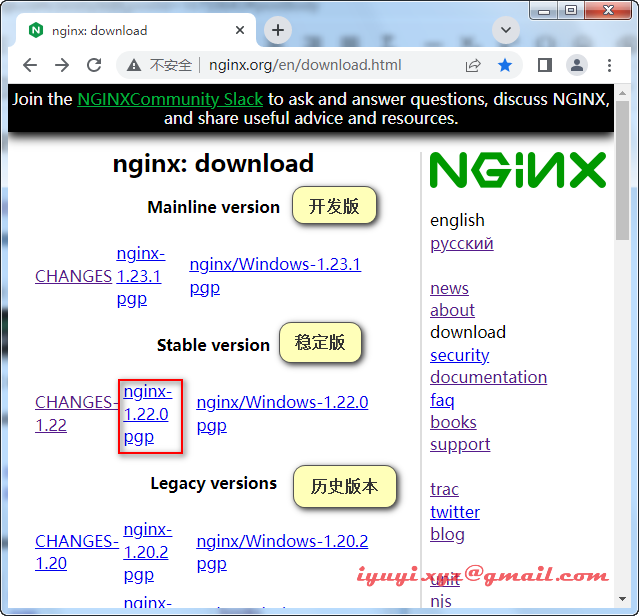
1 地址
2 安装前的准备
### 操作系统内核版本
uname -a
### 操作系统发行版本
cat /etc/redhat-release
在安装Nginx之前,需要确保安装Nginx所依赖的其他程序,执行下面的命令,安装或更新相应的程序。
###
dnf install -y gcc-c++ make openssl openssl-devel libxml2 libxml2-devel libxslt-devel gd gd-devel GeoIP GeoIP-devel GeoIP-data
执行完成后,如果之前未安装的,则会自动安装,如果之前已经安装有旧的版本,则会被新的版本代替。
3 wget下载
### 推荐wget下载
mkdir /opt/software && cd /opt/software
wget http://nginx.org/download/nginx-1.22.0.tar.gz
4 创建用户和组
###
useradd nginxxyz -s /sbin/nologin
id nginxxyz
二、解压
### 解压 & 进入nginx目录
tar -zxvf /opt/software/nginx-1.22.0.tar.gz -C /opt/ && cd /opt/nginx-1.22.0
三、配置编译模块
使用 ll 可以看到目录下有 configure 的可执行文件,这个文件的作用,就是根据系统的情况,生成 makefile 的,以便于下一步的编译和安装。
###
cd /opt/nginx-1.22.0

### 不带参数,默认会安装到 /usr/local/nginx 目录,也可以指定参数
./configure

### 则会在安装的时候,安装到 /usr/local/nginx-122 的目录
./configure --prefix=/usr/local/nginx-122
### 下列参数不懂可使用 help
./configure --help
### 定制用户和组件 配置相关模块
./configure \
--user=nginxxyz \
--group=nginxxyz \
--with-threads \
--with-file-aio \
--with-http_ssl_module \
--with-http_v2_module \
--with-http_realip_module \
--with-http_addition_module \
--with-http_xslt_module=dynamic \
--with-http_image_filter_module=dynamic \
--with-http_geoip_module=dynamic \
--with-http_sub_module \
--with-http_dav_module \
--with-http_flv_module \
--with-http_mp4_module \
--with-http_gunzip_module \
--with-http_gzip_static_module \
--with-http_auth_request_module \
--with-http_random_index_module \
--with-http_secure_link_module \
--with-http_degradation_module \
--with-http_slice_module \
--with-http_stub_status_module \
--with-stream=dynamic \
--with-stream_ssl_module \
--with-stream_realip_module \
--with-stream_geoip_module=dynamic \
--with-stream_ssl_preread_module \
--with-compat \
--with-pcre-jit \
--prefix=/usr/local/nginx-122
四、编译 & 安装
### 两行可以分开执行,也可以在同一行执行
make
make install

### 同一行执行
make && make install
五、修改环境变量
将nginx服务加入环境变量
在文件中添加 nginx 的安装路径下的bin 目录
###
vim /etc/profile
export PATH=$PATH:/usr/local/nginx-122/sbin
source /etc/profile

###
cp /usr/local/nginx-122/sbin/nginx /usr/local/bin
六、启动
### 启动nginx
/usr/local/nginx-122/sbin/nginx

### 重启nginx
/usr/local/nginx-122/sbin/nginx -s reload

### 停止nginx
/usr/local/nginx-122/sbin/nginx -s stop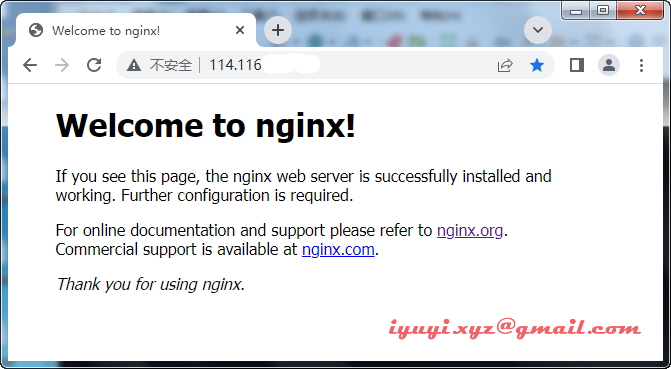
七、自启动
为了方便管理,在服务器重启后,需要nginx自动启动,可以添加 nginx 的服务
nginx 的服务文件配置可参考如下
### 创建 nginx 服务文件
cat > /lib/systemd/system/nginx.service << EOF
[Unit]
Description=nginx
After=network.target

[Service]
Type=forking
ExecStart=/usr/local/nginx-122/sbin/nginx
ExecReload=/usr/local/nginx-122/sbin/nginx -s reload
ExecStop=/usr/local/nginx-122/sbin/nginx -s stop
PrivateTmp=true

[Install]
WantedBy=multi-user.target
EOF

###
cat /lib/systemd/system/nginx.service
nginx 的服务就已经完成添加,但这个时候,还没有启动的,可以通过下面的命令来操作nginx。
重新修改 nginx.service 配置文件后,则需要使用下面的命令来重新加载服务的配置文件。
### 重新加载服务的配置文件
systemctl daemon-reload

### 启动 nginx
systemctl start nginx
### 停止 nginx
systemctl stop nginx
###
systemctl enable nginx
### 重新加载 nginx
systemctl reload nginx
### 查看运行状态
systemctl sta