ocessEnvironment
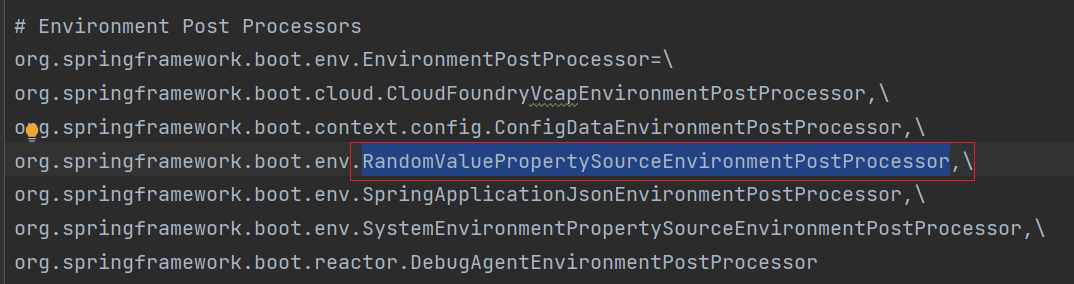
这个EnvironmentPostProcessor也是在spring.factories里面配置了

可以看到这里调用了我们前面说的工具类的RandomValuePropertySource.addToEnvironment(environment, this.logger);
我们来看一眼它的代码
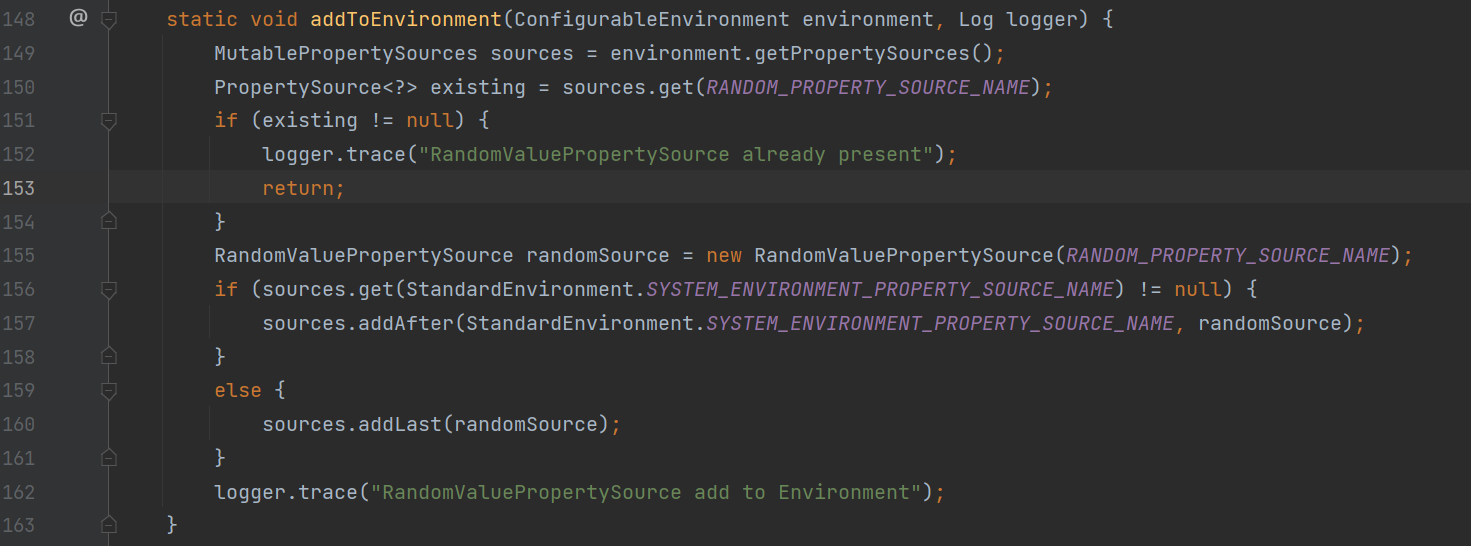
可以看到它就是把RandomValuePropertySource添加到Enviorment的PropertySources里面,留在后面用。 后面我们会看到它是怎么用。
代码的流程大概是这样的
SpringApplication -> Run() -> prepareEnvironment() ->listeners.environmentPrepared(bootstrapContext, environment)
EventPublishingRunListener -> SimpleApplicationEventMulticaster -> multicastEvent() -> listener.onApplicationEvent(event)
onApplicationEnvironmentPreparedEvent-> RandomValuePropertySource.addToEnvironment()
代码到这里RandomValuePropertySource工具就准备好了, 读配置文件的类PropertiesPropertySourceLoader代码类似,这里不详述。
生成随机数
我原本以为读出配置文件后,就直接用RandomValuePropertySource生成了随机数,后来通过调试发现不是的,生成随机数是在Bean创建的时候,拿到需要注入的field的时候,再去找配置文件内存中找到,然后再生成的。 这个过程有些复杂,我花了不少时间才将它理出来。
SpringApplication.run
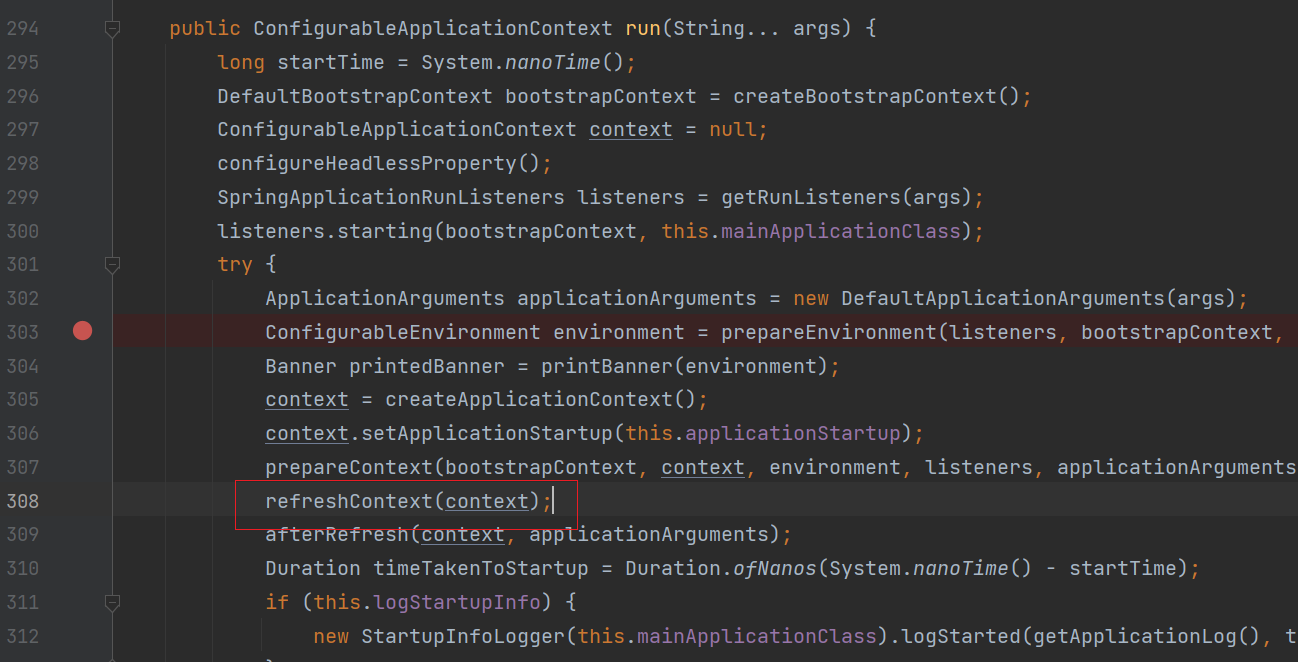
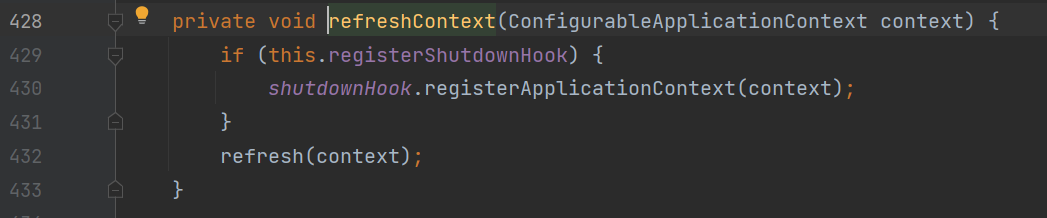

这里跳到到spring framework包里面的org.springframework.context.support.refresh()方法
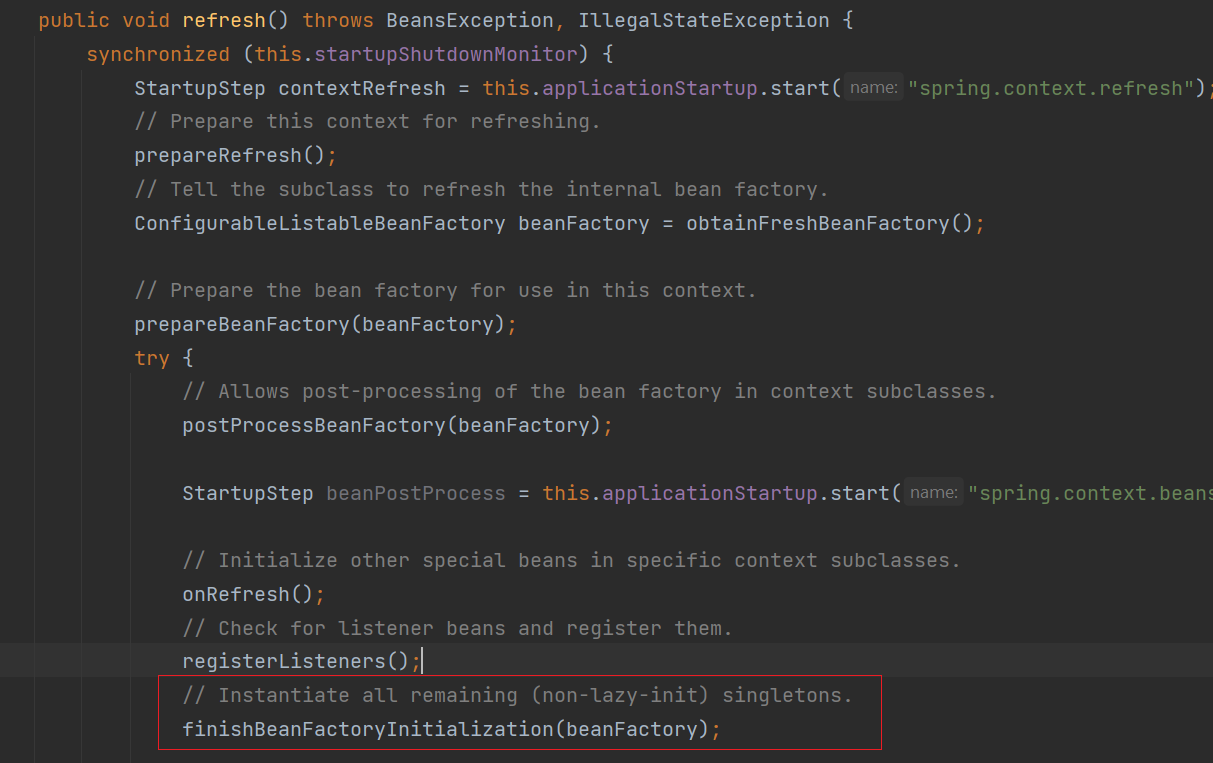
这里图太多不贴了,只贴主要类和方法
AbstractApplicationContext.finishBeanFactoryInitialization -> DefaultListableBeanFactory.preInstantiateSingletons ->
DefaultListableBeanFactory.getBean ->
AbstractBeanFactory.getBean ->
AbstractAutowireCapableBeanFactory.createBean() ->
AbstractAutowireCapableBeanFactory.doCreateBean() ->
AbstractAutowireCapableBeanFactory.populateBean() ->
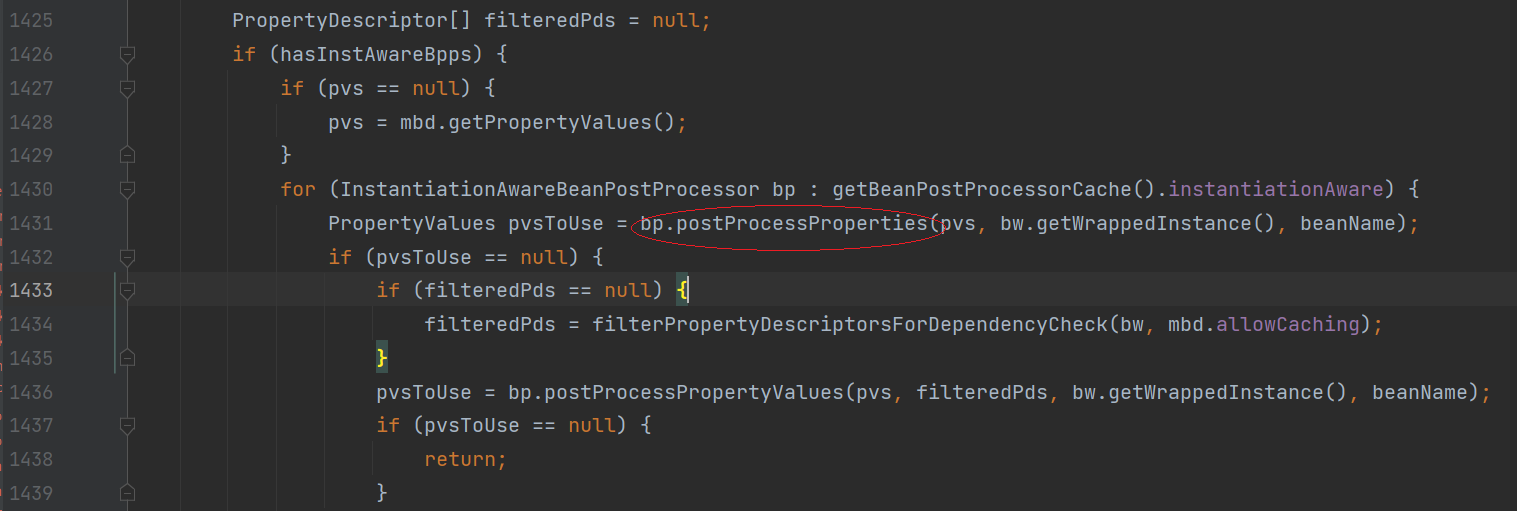
这里调用InstantiationAwareBeanPostProcessor.postProcessProperties 会有一个List,只有当对象是AutoWiredAnnotationBeanPostProcessor的时候才会调用我们的给注解加载值。
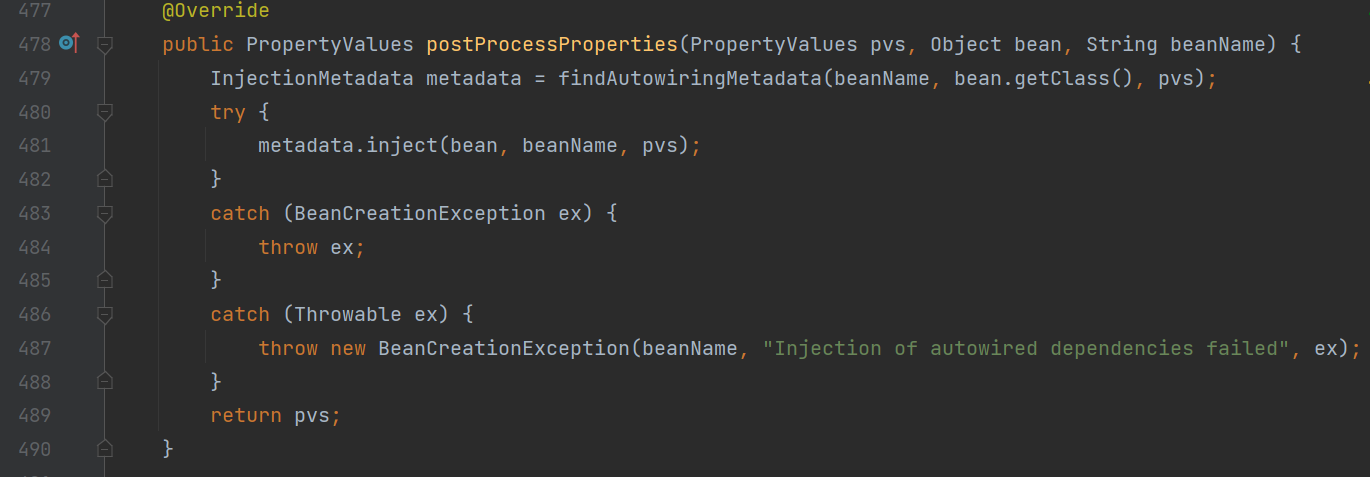
这里调用InjectMetadata.inject() 就是注入我们要的value.
InjectedElement.inject() ->
InjectionMetadata.getResourceToInject() ->
CommonAnnotationBeanPostProcessor.getResource() ->
CommonAnnotationBeanPostProcessor.autowireResource() ->
AutowireCapableBeanFactory.resolveDependency() ->
DefaultListableBeanFactory.doResolveDependency() ->
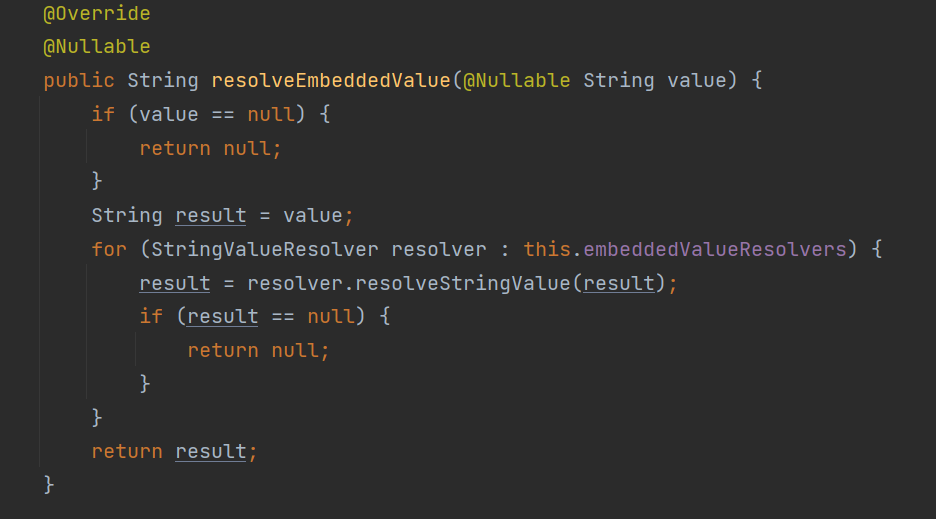
AbstractBeanFactory.resolveEmbeddedValue
这个embeddedValueResolvers是这么来的
beanFactory.addEmbeddedValueResolver(strVal -> getEnvironment().resolvePlaceholders(strVal));
AbstractPropertyResolver.resolvePlaceholders()
AbstractPropertyResolver.doResolvePlaceholders()
PropertySourcesPropertyResolver.getPropertyAsRawString()
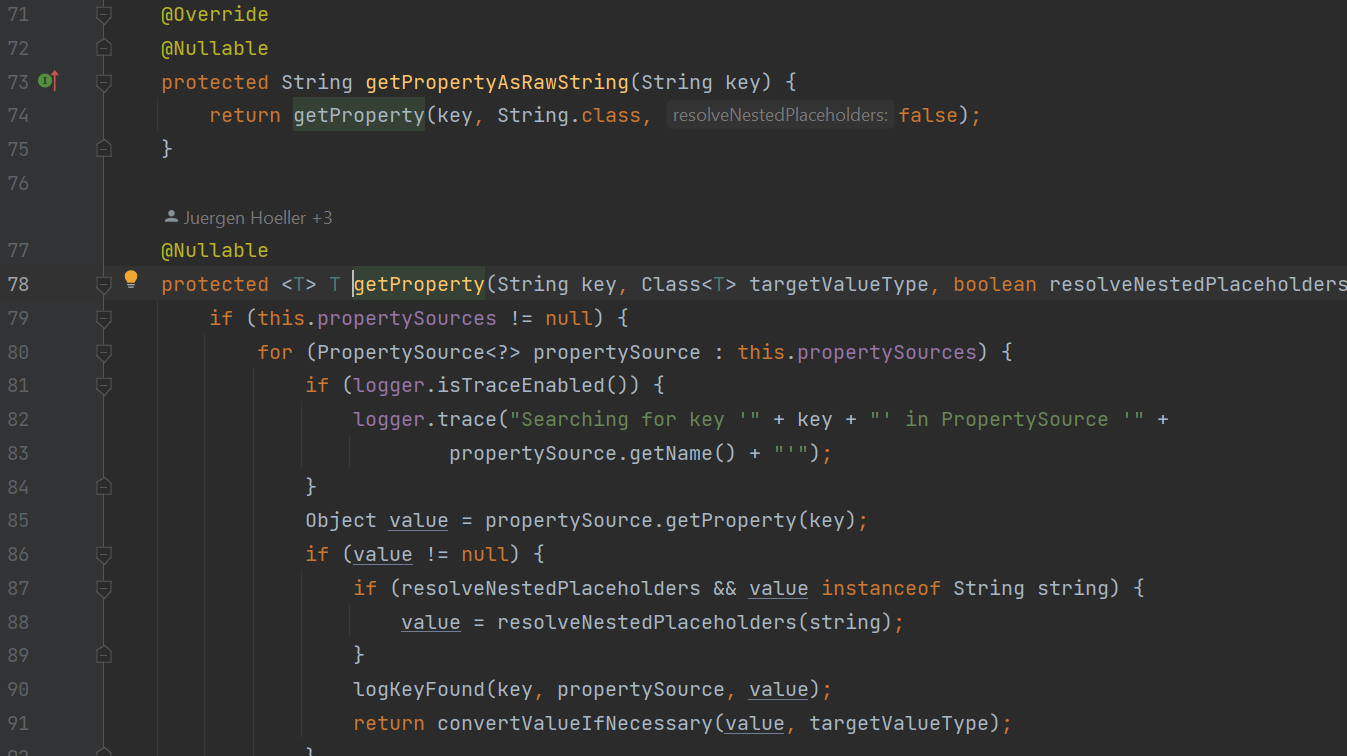
这里的this.PropertySources就是包含了最开始准备阶段的RandomValuePropertySource。有好几个PropertySource都去找值,找到值就返回。
这样我们整个流程就打通了。
总结
Spring的代码非常的庞大,代码水平也非常高,往往不是我们常规的思路,需要非常复杂的组织起代码来,我阅读整个代码的时候就是不停的debug,带着问题去找,这是我第一次去阅读它的代码,花的时间比较多,还有许多问题没有来的及看,比如spring.factories 是怎么去初始化那些接口的呢?等等问题。 万事开头难,走出第一步,我想后面再读会容易很多。