您好,我是湘王,这是我的博客园,欢迎您来,欢迎您再来~
在Java NIO的三大核心中,除了Channel和Buffer,剩下的就是Selector了。有的地方叫它选择器,也有叫多路复用器的(比如Netty)。
之前提过,数据总是从Channel读取到Buffer,或者从Buffer写入到Channel,单个线程可以监听多个Channel――Selector就是这个线程背后的实现机制(所以得名Selector)。
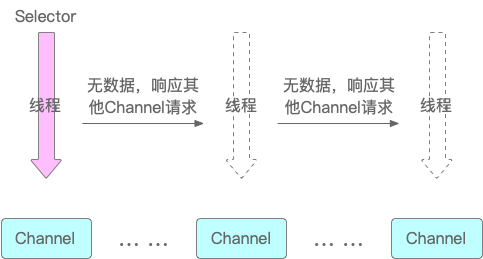
Selector通过控制单个线程处理多个Channel,如果应用打开了多个Channel,但每次传输的流量都很低,使用Selector就会很方便(至于为什么,具体到Netty中再分析)。所以使用Selector的好处就显而易见:用最少的资源实现最多的操作,避免了线程切换带来的开销。
还是以代码为例来演示Selector的作用。新建一个类,在main()方法中输入下面的代码:
/**
 * NIO中的Selector
 *
 * @author xiangwang
 */
public class TestSelector {
    public static void main(String args[]) throws IOException {
        // 创建ServerSocketChannel
        ServerSocketChannel channel1 = ServerSocketChannel.open();
        channel1.socket().bind(new InetSocketAddress("127.0.0.1", 8080));
        channel1.configureBlocking(false);
        ServerSocketChannel channel2 = ServerSocketChannel.open();
        channel2.socket().bind(new InetSocketAddress("127.0.0.1", 9090));
        channel2.configureBlocking(false);

        // 创建一个Selector对象
        Selector selector = Selector.open();
        // 按照字面意思理解,应该是这样的:selector.register(channel, event);
        // 但其实是这样的:channel.register(selector, SelectionKey.OP_READ);
        // 四种监听事件:
        // OP_CONNECT(连接就绪)
        // OP_ACCEPT(接收就绪)
        // OP_READ(读就绪)
        // OP_WRITE(写就绪)
        // 注册Channel到Selector,事件一旦被触发,监听随之结束
        SelectionKey key1 = channel1.register(selector, SelectionKey.OP_ACCEPT);
        SelectionKey key2 = channel2.register(selector, SelectionKey.OP_ACCEPT);

        // 模板代码:在编写程序时,大多数时间都是在模板代码中添加相应的业务代码
        while(true) {
            int readyNum = selector.select();
            if (readyNum == 0) {
                continue;
            }

            Set<SelectionKey> selectedKeys = selector.selectedKeys();
            // 轮询
            for (SelectionKey key : selectedKeys) {
                Channel channel = key.channel();
                if (key.isConnectable()) {
                    if (channel == channel1) {
                        System.out.println("channel1连接就绪");
                    } else {
                        System.out.println("channel2连接就绪");
                    }
                } else if (key.isAcceptable()) {
                    if (channel == channel1) {
                        System.out.println("channel1接收就绪");
                    } else {
                        System.out.println("channel2接收就绪");
                    }
                }
                // 触发后删除,这里不删
                // it.remove();
            }
        }
    }
}
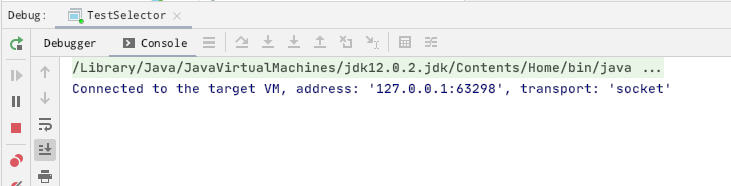
代码写好后启动ServerSocketChannel服务,可以看到我这里已经启动成功:
然后在网上下载一个叫做SocketTest.jar的工具(在一些工具网站下载的时候当心中毒,如果不放心,可以私信我,给你地址),双击打开,并按下图方式执行:

点击「Connect」可以看到变化:
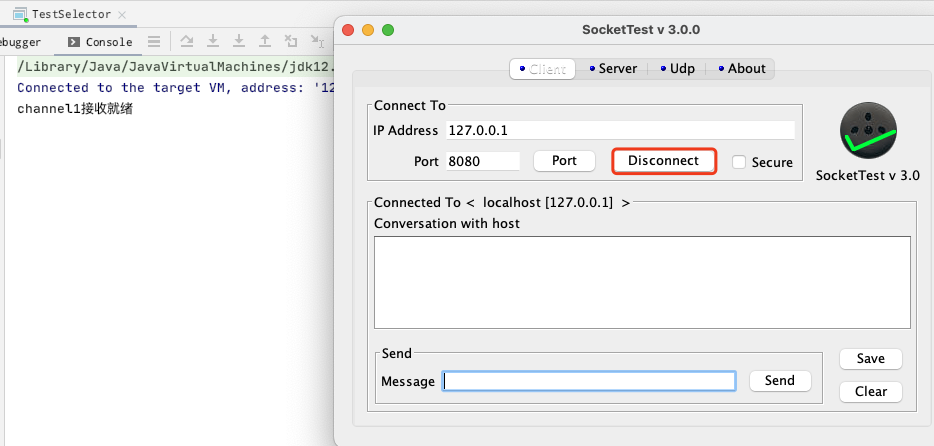
然后点击「Disconnect」,再输入「9090」后,再点击「Connect」试试:
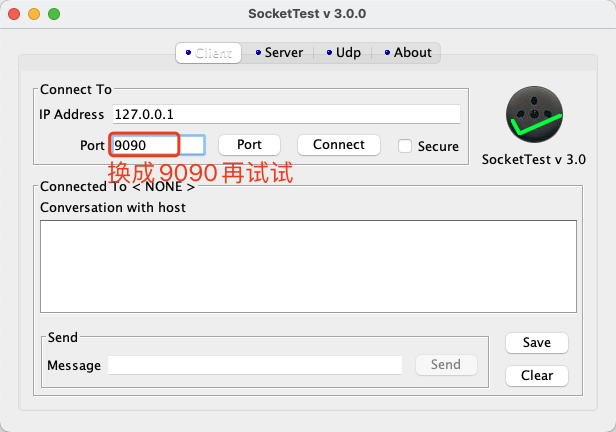
可以看到结果显示结果变了:
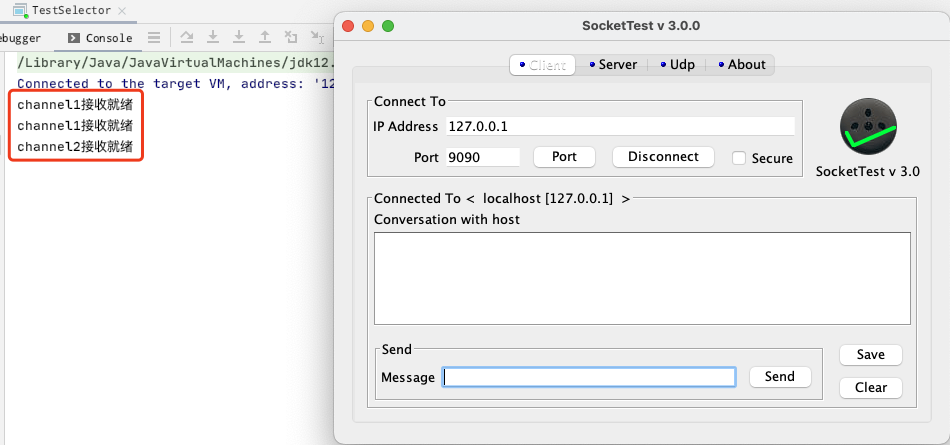
两次连接,打印了三条信息:说明selector的轮询在起作用(因为Set<SelectionKey>中包含了所有处于监听的SelectionKey)。但是「接收就绪」监听事件仅执行了一次就再不响应。如果感兴趣的话你可以把OP_READ、OP_WRITE这些事件也执行一下试试看。
因为Selector是单线程轮询监听多个Channel,那么如果Selector(线程)之间需要传递数据,怎么办呢?――Pipe登场了。Pipe就是一种用于Selector之间数据传递的「管道」。
先来看个图:

可以清楚地看到它的工作方式。
还是用代码来解释。
/**
 * NIO中的Pipe
 *
 * @author xiangwang
 */
public class TestPipe {
    public static void main(String args[]) throws IOException {
        // 打开管道
        Pipe pipe = Pipe.open();

        // 将Buffer数据写入到管道
        Pipe.SinkChannel sinkChannel = pipe.sink();
        ByteBuffer buffer = ByteBuffer.allocate(32);
        buffer.put("ByteBuffer".getBytes());
        // 切换到写模式
        buffer.flip();
        sinkChannel.write(buffer);

        // 从管道读取数据
        Pipe.SourceChannel sourceChannel = pipe.source();
        buffer = ByteBuffer.allocate(32);
        sourceChannel.read(buffer);
        Syst