1.安装java jdk
[elsearch@localhost bin]$ java -version
openjdk version "1.8.0_181"
OpenJDK Runtime Environment (build 1.8.0_181-b13)
OpenJDK 64-Bit Server VM (build 25.181-b13, mixed mode)
2.去官网下载https://www.elastic.co/cn/downloads/elasticsearch
wget https://artifacts.elastic.co/downloads/elasticsearch/elasticsearch-6.7.1.tar.gz
3.解压
tar -zvxf elasticsearch-6.7.1.tar.gz -C /usr/local
4.设置创建用户
[root@localhost ~]# groupadd elsearch
[root@localhost ~]# useradd elsearch -g elsearch -p elasticsearch
[root@localhost ~]# passwd elsearch  # 设置密码
5.更改解压的文件的owner
[root@localhost ~]# cd /usr/local/
[root@localhost /usr/local]# chown -R elsearch:elsearch elasticsearch-6.7.1/
6.尝试启动bin目录下的elasticsearch
[elsearch@localhost bin]$ ./elasticsearch
7.报错解决
错误:max virtual mefnory areas vm.max_ map_count [ 65530 ] 15 too low, increase toa t least [ 262144 ]

在配置文件最后一行加上:
vm.max_map_count=655360
错误:max file descriptors [ 4096 ] for elasticsearch process 15 too low, increase to at least [ 65536 ]
etc目录下

用 vi ./limits.conf 进入limits.conf进行编辑,修改如下:
elsearch soft nofile 65536
elsearch hard nofile 65536
elsearch soft nproc 4096
elsearch hard nproc 4096
报错:跟Access相关的
用ll查下相关文件的owner,然后改为用户elsearch
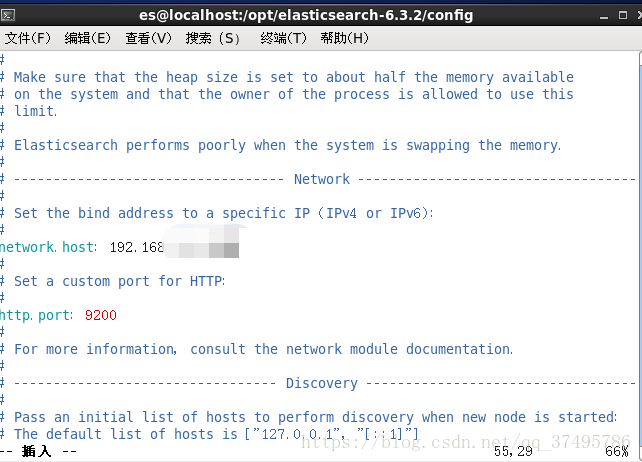
8.编辑elasticsearch.yml配置文件,使本地主机可以访问els所在虚拟机
[elsearch@localhost config]$ vi elasticsearch.yml
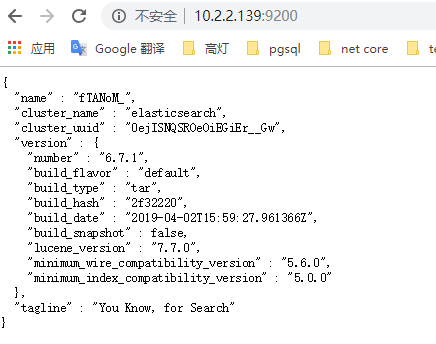
9.test
./elasticsearch -d #启动
本地浏览器访问http://10.2.2.139:9200/