|
: {
"Type": "RoundRobin"
},
//上游地址配置
"UpstreamPathTemplate": "/test/{everything}",
//上游支持的请求类型
"UpstreamHttpMethod": [ "Post", "Get" ]
}
],
"GlobalConfiguration": {
"BaseUrl": "https://localhost:8683",
//consul服务器地址和ip
"ServiceDiscoveryProvider": {
"Host": "localhost",
"Port": 8500
}
}
}
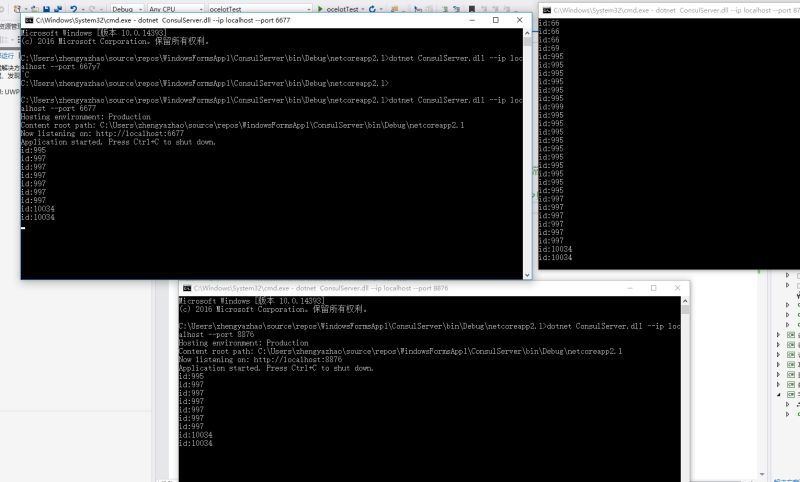
4.启动ocelot项目和consul服务。
把服务注册到consul当中,通过postman发送请求测试,成功转发消息,并且实现负载均衡。

小结:简单的ocelot搭建完成,后续的一些扩展功能慢慢在研究。
快速入口:微服务(入门一):netcore安装部署consul
快速入口: 微服务(入门二):netcore通过consul注册服务
快速入口: 微服务(入门三):netcore ocelot api网关结合consul服务发现
快速入口:微服务(入门四):identityServer的简单使用(客户端授权)
|